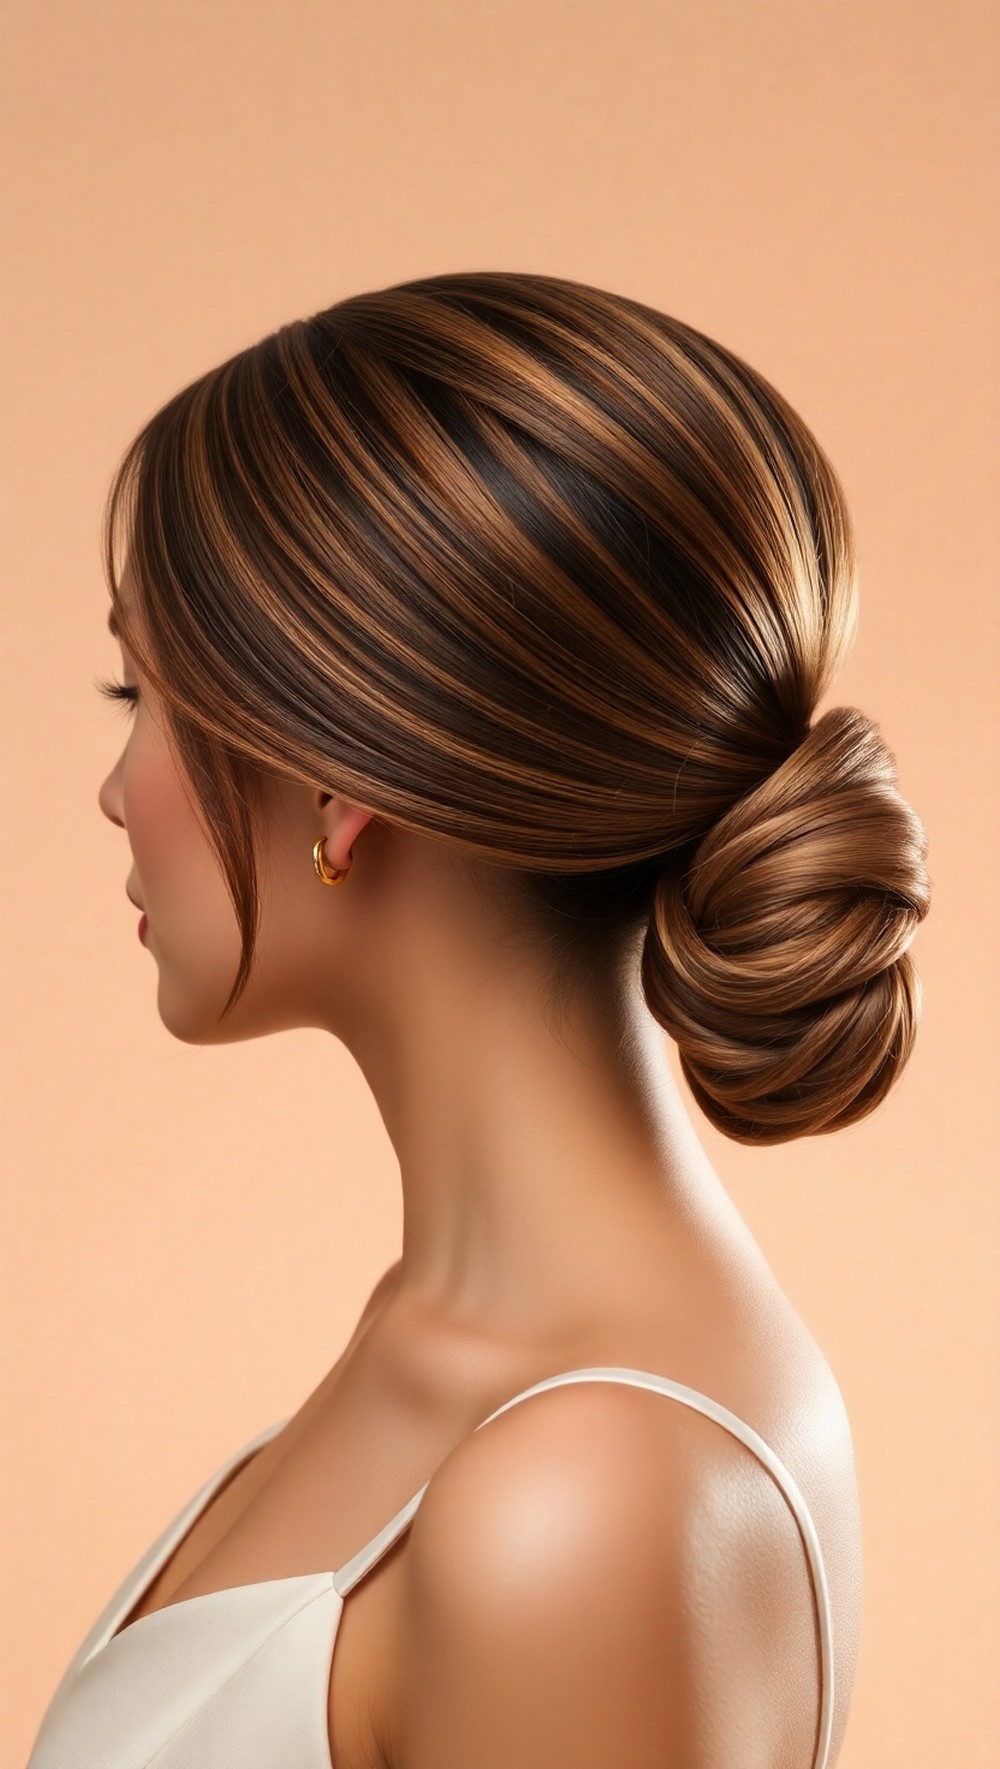
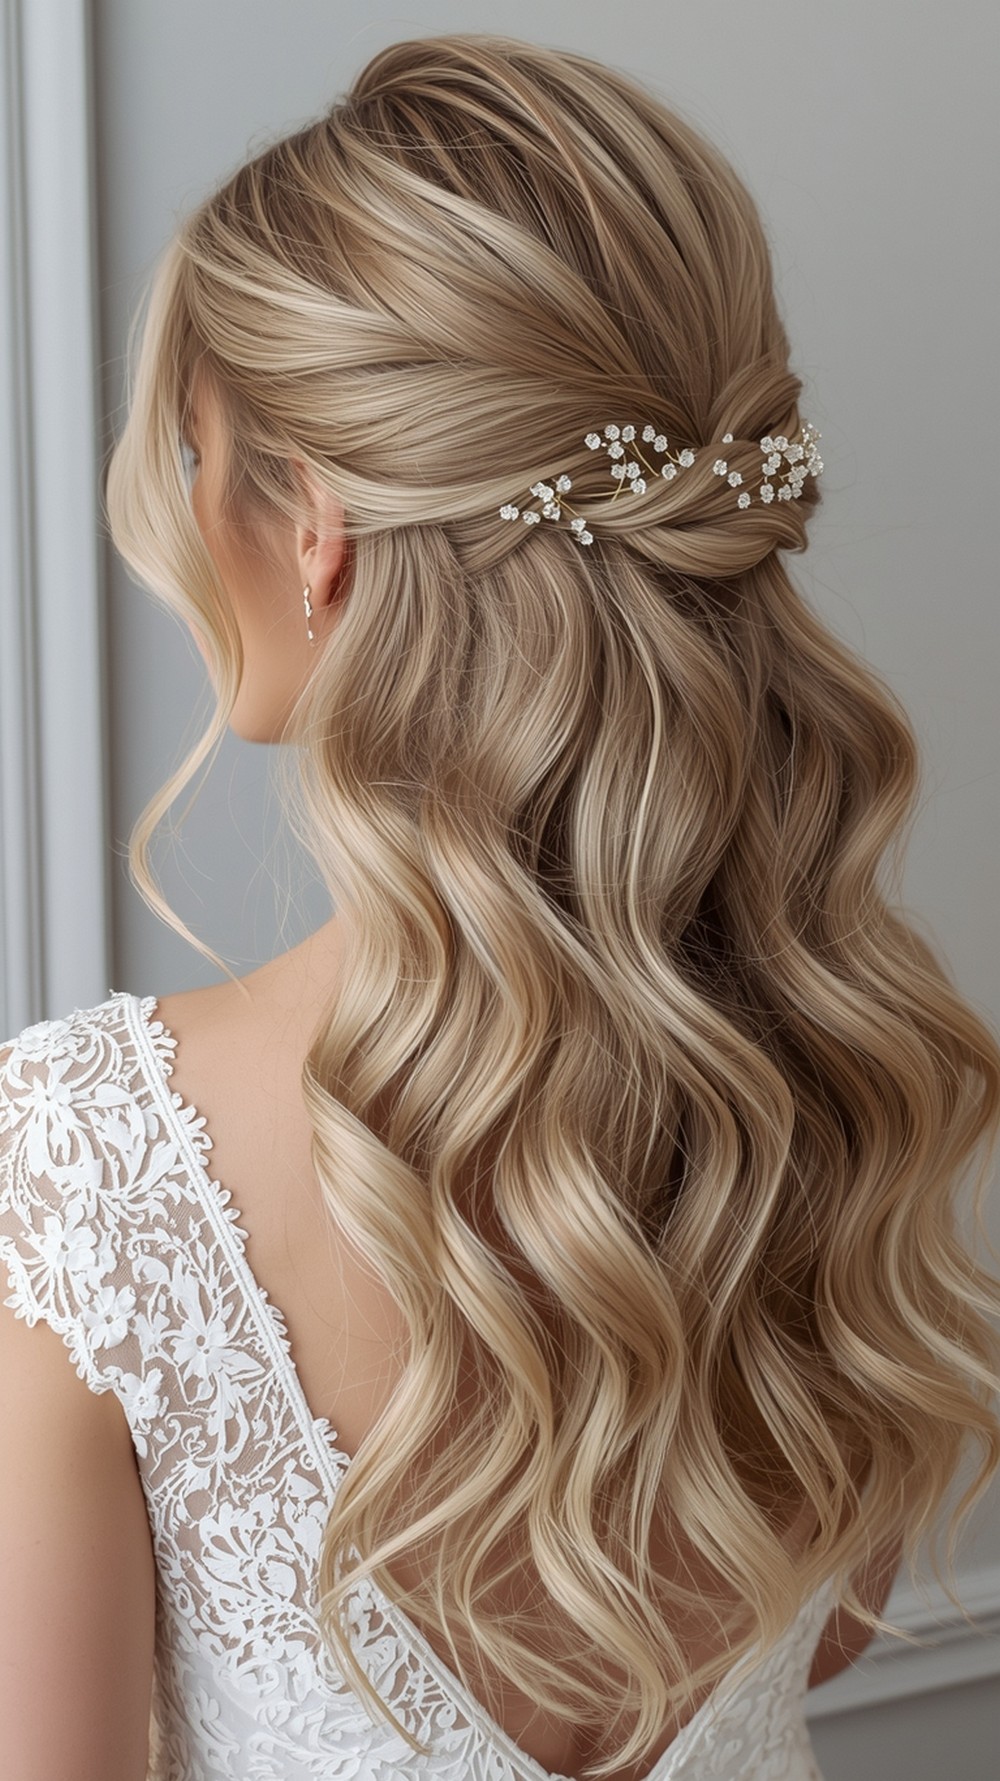
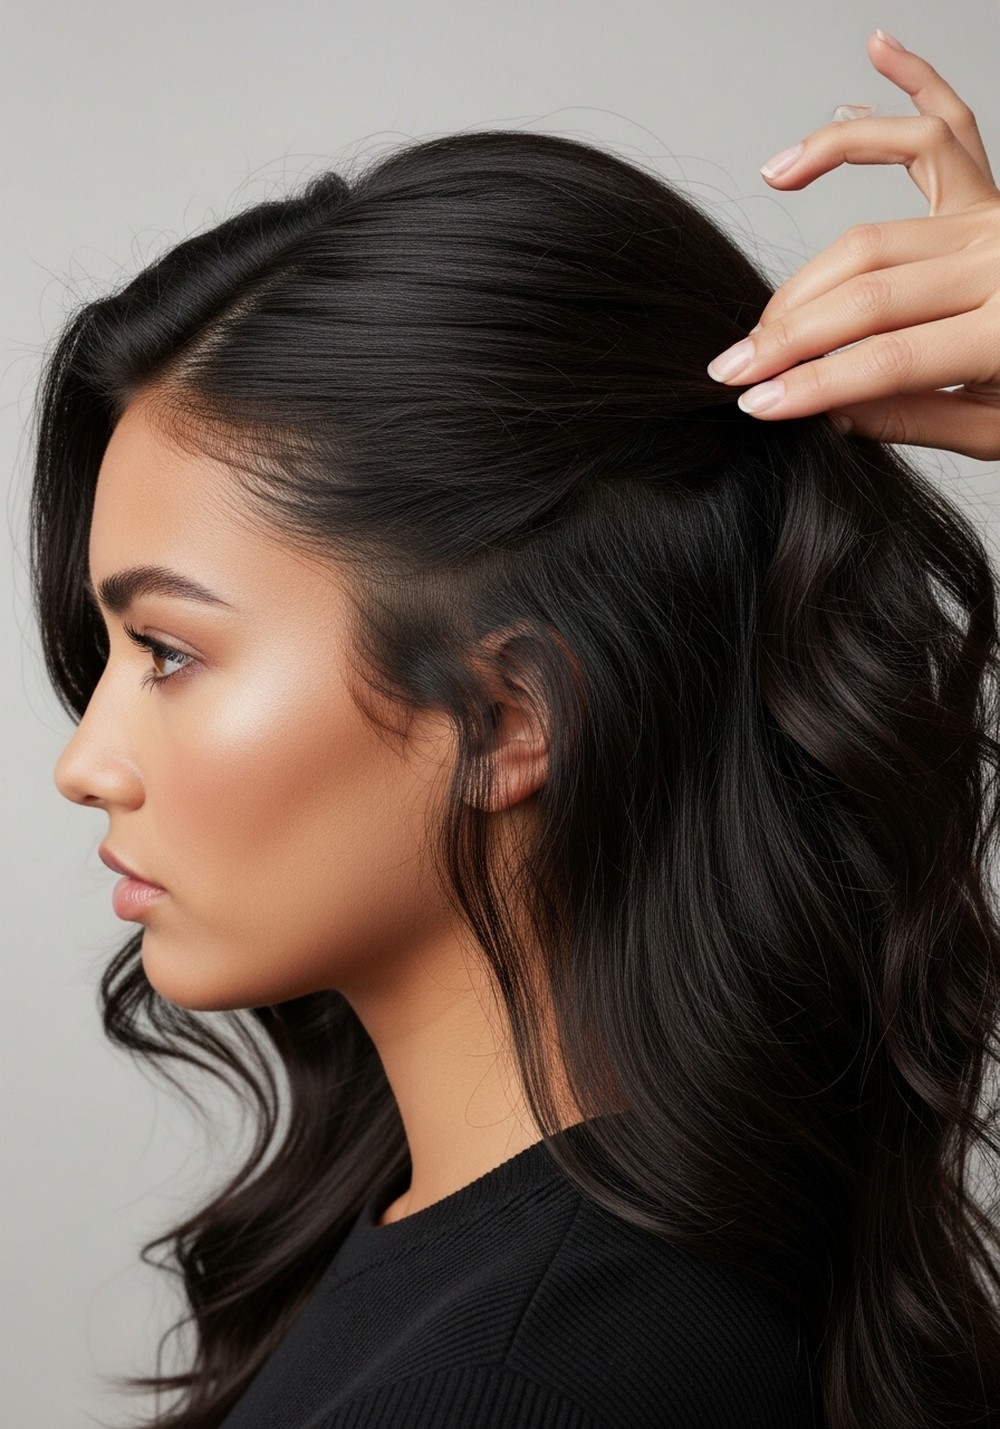
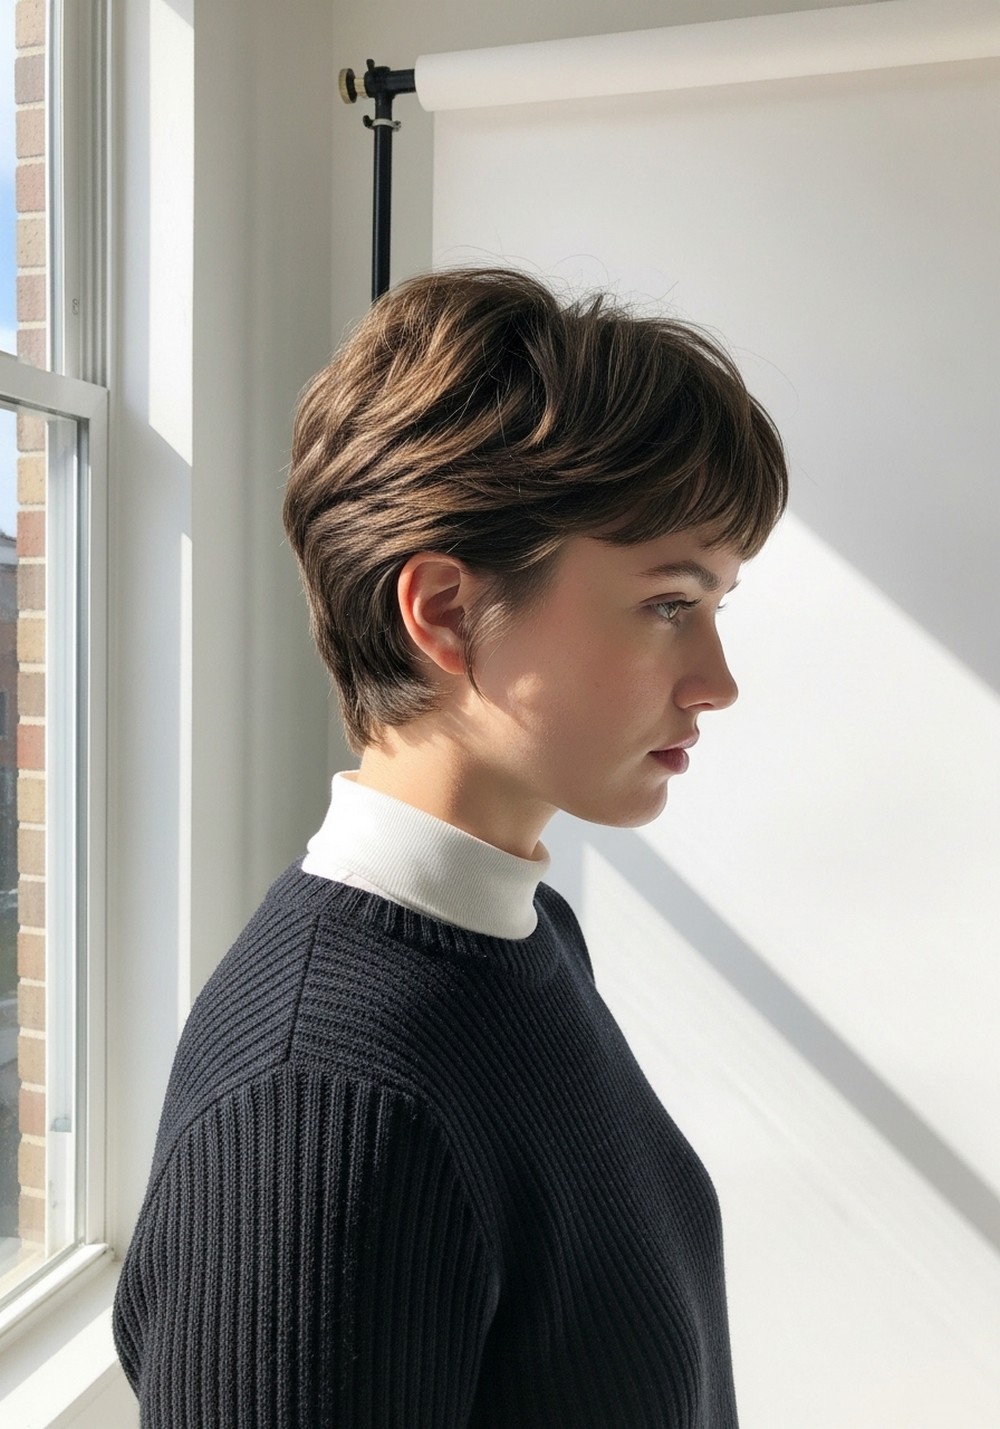
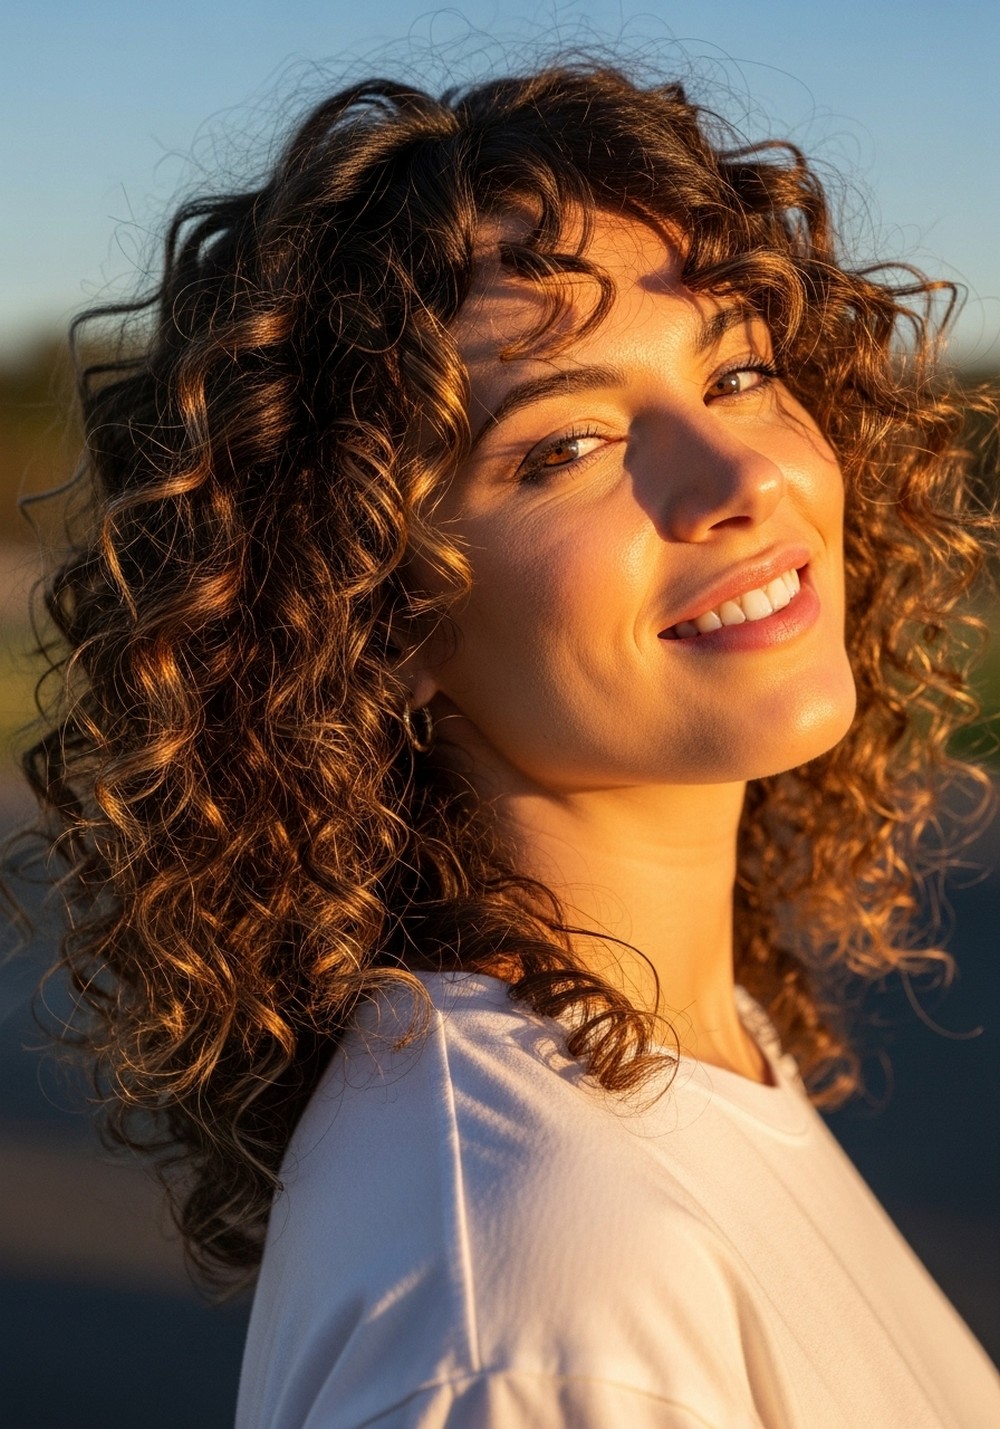
20 Diffused Curls Volume Hairstyle Ideas
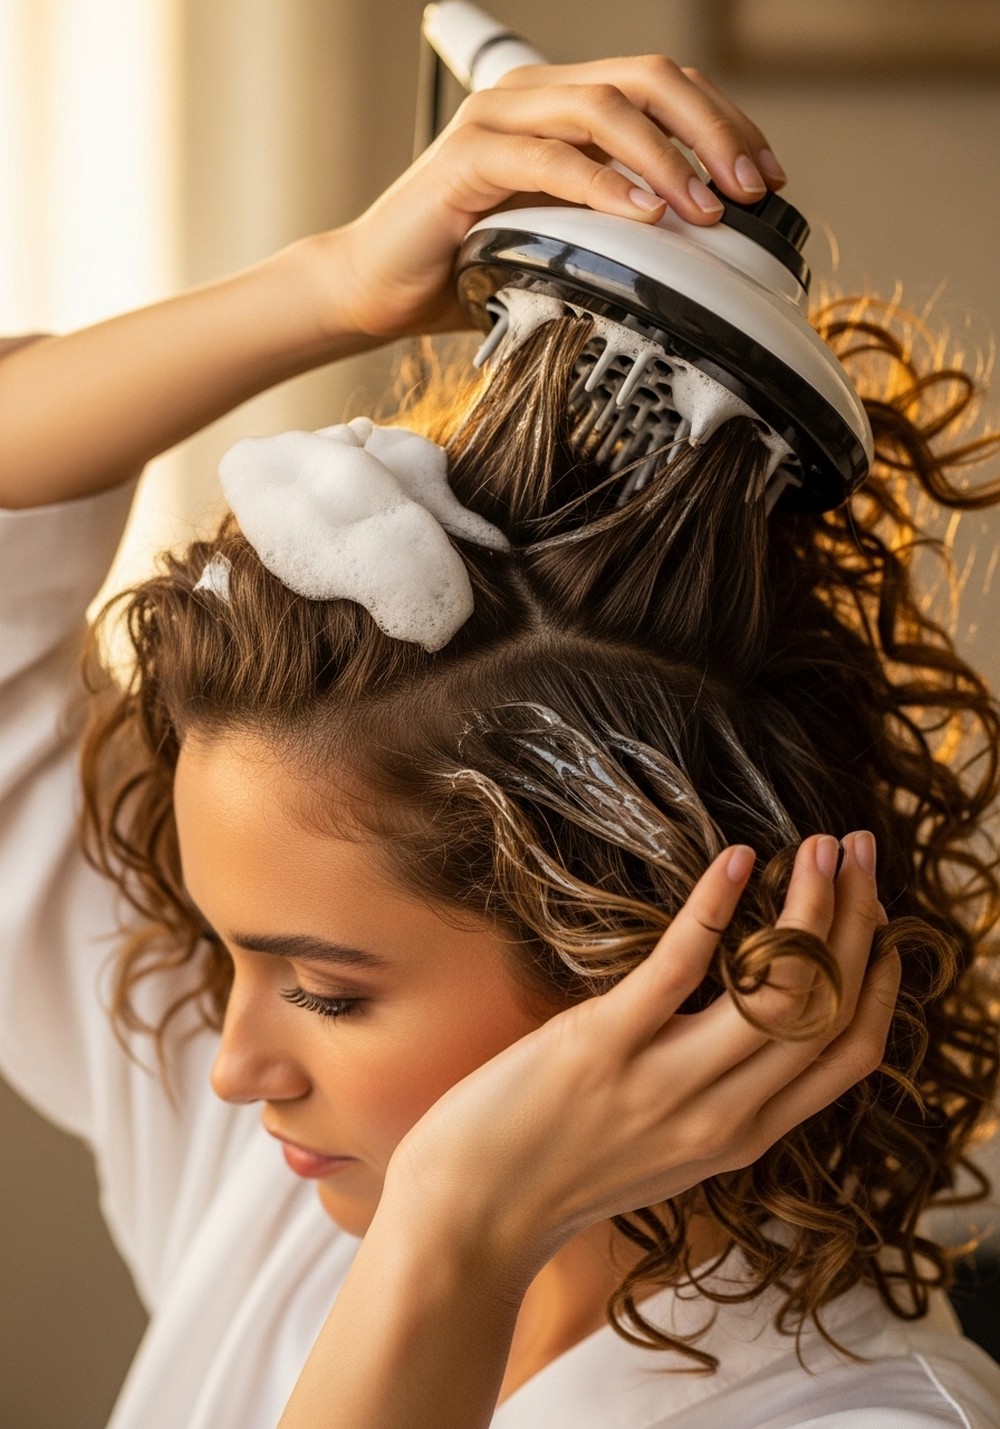
Diffusing is the fastest way to get lift, shape, and long-lasting curl definition—without frizz. This guide gives you twenty volume-focused curl looks with exact product layers, diffuser settings, and small tricks that make a big difference. You’ll learn how to set the surface first, where to clip for height, when to flip, and how long to hover before cupping. Each idea fits real life: school runs, workouts, dinners, even humid days. Start with water-first styling, build slip, seal with hold, then diffuse low heat and low speed. Once fully dry, scrunch out the cast and fluff the roots. Big, soft volume—done.
What the list covers
Volume-first diffusing techniques, product orders for different textures, climate tweaks, root-lift tricks, and day-two refresh ideas.
Who it suits
2C–4A curls, fine to dense hair, short to long. Great for anyone wanting airy lift at the crown and sides without losing definition.
Basic styling and layering approach
Apply leave-in on soaking-wet hair, add foam or cream for shape, glaze gel to lock. Hover diffuse to set, then cup and hold. Dry hands-off, break the cast with a drop of oil, pick roots lightly.
Quick List
- Classic Hover-then-Cup Lift
- Upside-Down Root Boost
- Side-Part Volume Flip
- Clip-Crown Skyline
- Foam + Gel Airy Set
- Cream-Sandwich Moist Volume
- Bowl-Soak Big Clumps
- Paper-Towel Blot & Bounce
- Pixie Diffuser Perimeter Lift
- Stretch-Diffuse Roots Only
- Strong Cast, Soft Fluff
- Humidity Shield Volume
- Dry-Climate Moisture Stack
- Five-Minute Lunch Refresh
- Post-Workout Root Reset
- Finger-Coil Face Pieces
- Butterfly Clip-Lift
- Curtain-Bang Volume Set
- Short Halo Max Lift
- Special-Event Gloss Volume
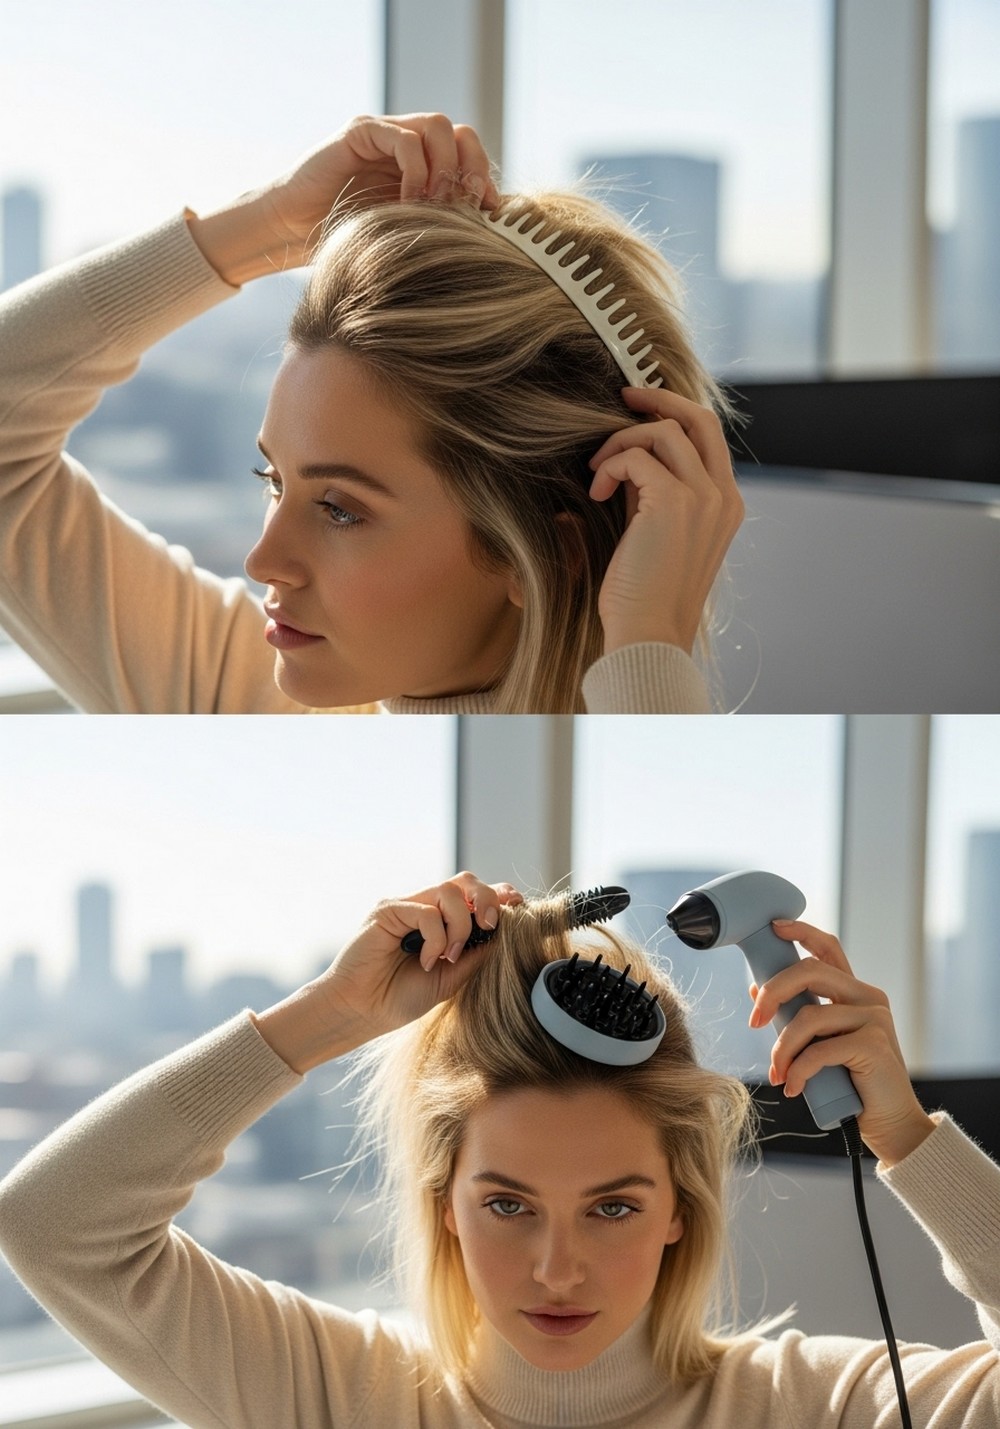
Classic Hover then Cup Lift

Set definition first, then add volume. On soaking-wet hair, layer leave-in, your shaper (foam or cream), and a gel glaze. Hover diffuse around the head on low heat and speed until a light cast forms. Now switch to cupping: place curls into the diffuser, hold still, release, and move on. This two-stage dry locks pattern, then builds lift without frizz. Finish once 100% dry: oil-scrunch to break the cast, then pick roots only. Style tip: keep the diffuser still; movement creates flyaways.
How To Style
- Leave-in → shaper → gel.
- Hover diffuse to set.
- Cup/hold until dry.
- Oil-scrunch; root pick.
Best For
2C–3B; everyday big-but-soft volume.
Occasion & Season
Perfect for: daily wear, all seasons.
Key Pieces
leave-in, foam/cream, gel, diffuser, light oil, root pick
Upside Down Root Boost
Aim for max lift at the scalp. Apply foam at roots and gel through lengths. Flip your head forward and diffuse upside down in small sections, cupping from tips to scalp. Pause between moves so air doesn’t blast clumps apart. Flip to each side as you go to keep height balanced. Finish upright and cool-shot around the crown. Style tip: avoid coating roots with cream; keep them light so they can stand up.
How To Style
- Foam at roots; gel on lengths.
- Diffuse upside down; then left/right.
- Cool-shot crown.
- Break cast; fluff.
Best For
Fine or low-density curls needing lift.
Occasion & Season
Perfect for: mornings with little time.
Key Pieces
root foam, medium gel, diffuser with cool-shot
Side Part Volume Flip
Build a deep side part after diffusing for instant height. Style wet with your usual layers, dry mostly upright using hover then cup. When 90% dry, flip your part two fingers wider than normal and finish drying. The part switch pushes volume to the top and front for a glam outline that still reads natural. Style tip: clip the new heavy side for five minutes while you get dressed.
How To Style
- Style and diffuse as usual.
- At 90% dry, flip to deeper part.
- Finish; remove clip.
- Oil-scrunch; light pick.
Best For
2C–3A; quick glam volume.
Occasion & Season
Perfect for: dates, dinners.
Key Pieces
clips, diffuser, light oil, pick
Clip Crown Skyline
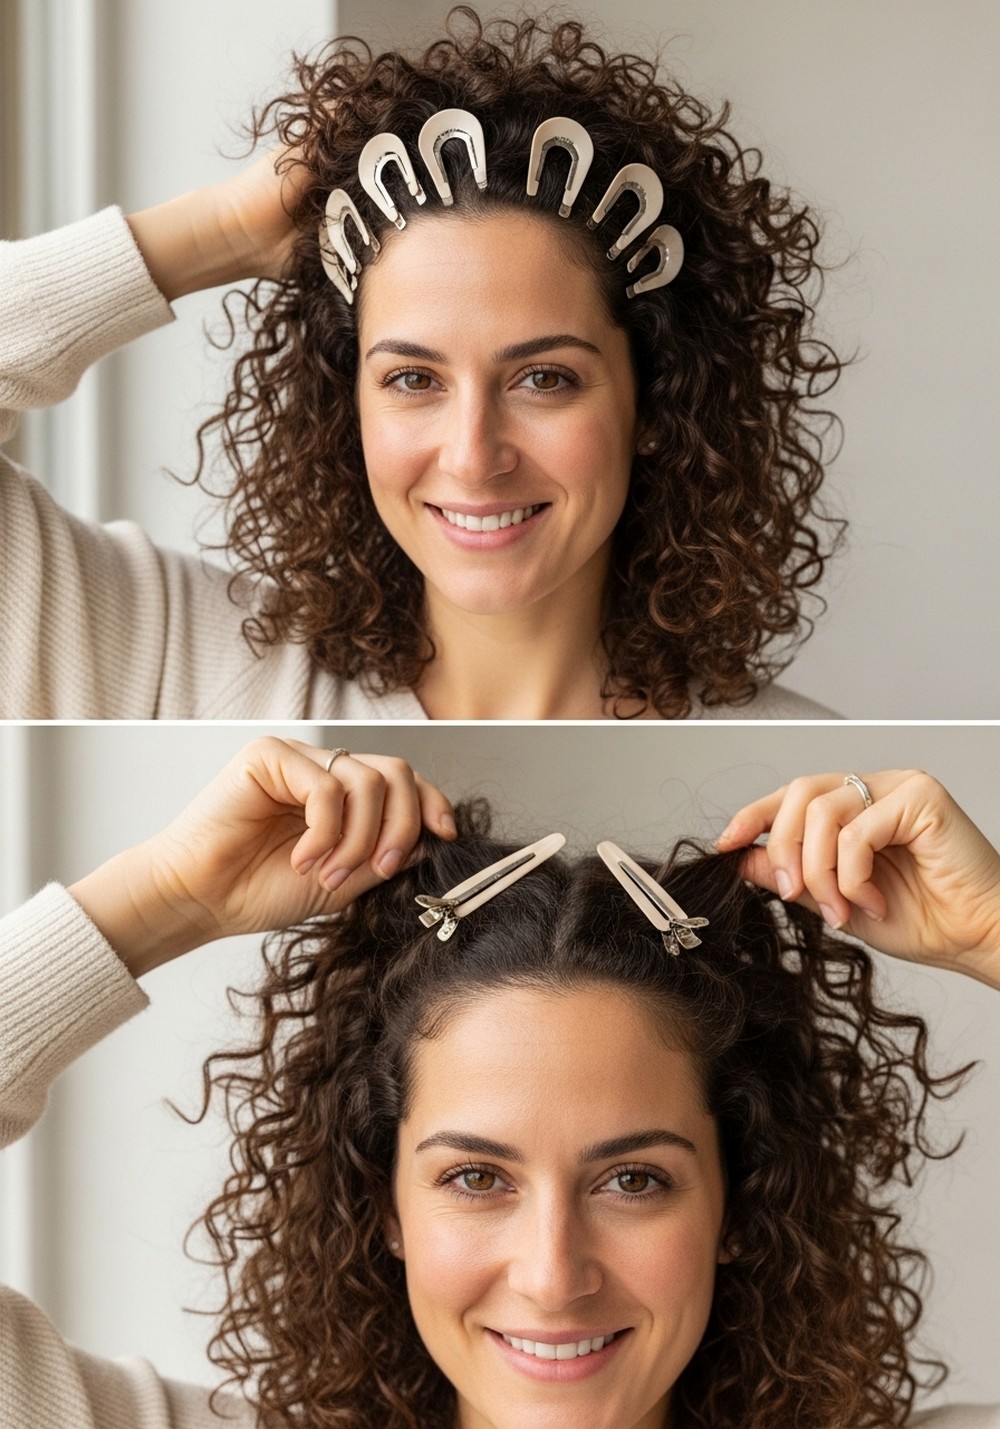
Create a lifted “skyline” by clipping at the crown while you dry. After product, place flat clips at the root, lifting hair vertically. Hover diffuse around the clips, then remove and cup to finish. You’ll keep height where curls usually collapse. Style tip: place clips in a horseshoe around your part, not on it, so the lift looks seamless.
How To Style
- Set products; place flat clips.
- Hover diffuse crown.
- Remove; cup until dry.
- Scrunch cast; fluff.
Best For
3A–3C; crown that falls flat.
Occasion & Season
Perfect for: photos, long days out.
Key Pieces
flat root clips, diffuser, medium gel
Foam + Gel Airy Set

Choose volume over weight. On wet hair, spread a light leave-in, then a volumizing foam root-to-tip for separation. Glaze a light-to-medium gel just on the outside of clumps to lock shape without stiffness. Diffuse low, flip occasionally. The result: bouncy, cloud-light volume with soft ends. Style tip: stop adding product once strands feel slick; extra layers flatten lift.
How To Style
- Light leave-in; foam.
- Gel glaze outside clumps.
- Diffuse low; flip sides.
- Break cast; go.
Best For
Fine 2C–3A; airy movement.
Occasion & Season
Perfect for: workdays, mild weather.
Key Pieces
light leave-in, volumizing foam, light gel
Cream Sandwich Moist Volume

For thicker curls needing moisture plus lift: leave-in, small amount of cream, then gel, then a pea of cream just on ends—the “cream sandwich.” Diffuse low and keep hands off. Ends stay juicy while roots remain light. Style tip: apply the final cream only from ears down.
How To Style
- Leave-in → cream → gel.
- Tiny cream on ends.
- Hover then cup to dry.
- Oil-scrunch lightly.
Best For
3A–3C; dry climates or winter.
Occasion & Season
Perfect for: cool, dry days.
Key Pieces
leave-in, curl cream, defining gel, oil
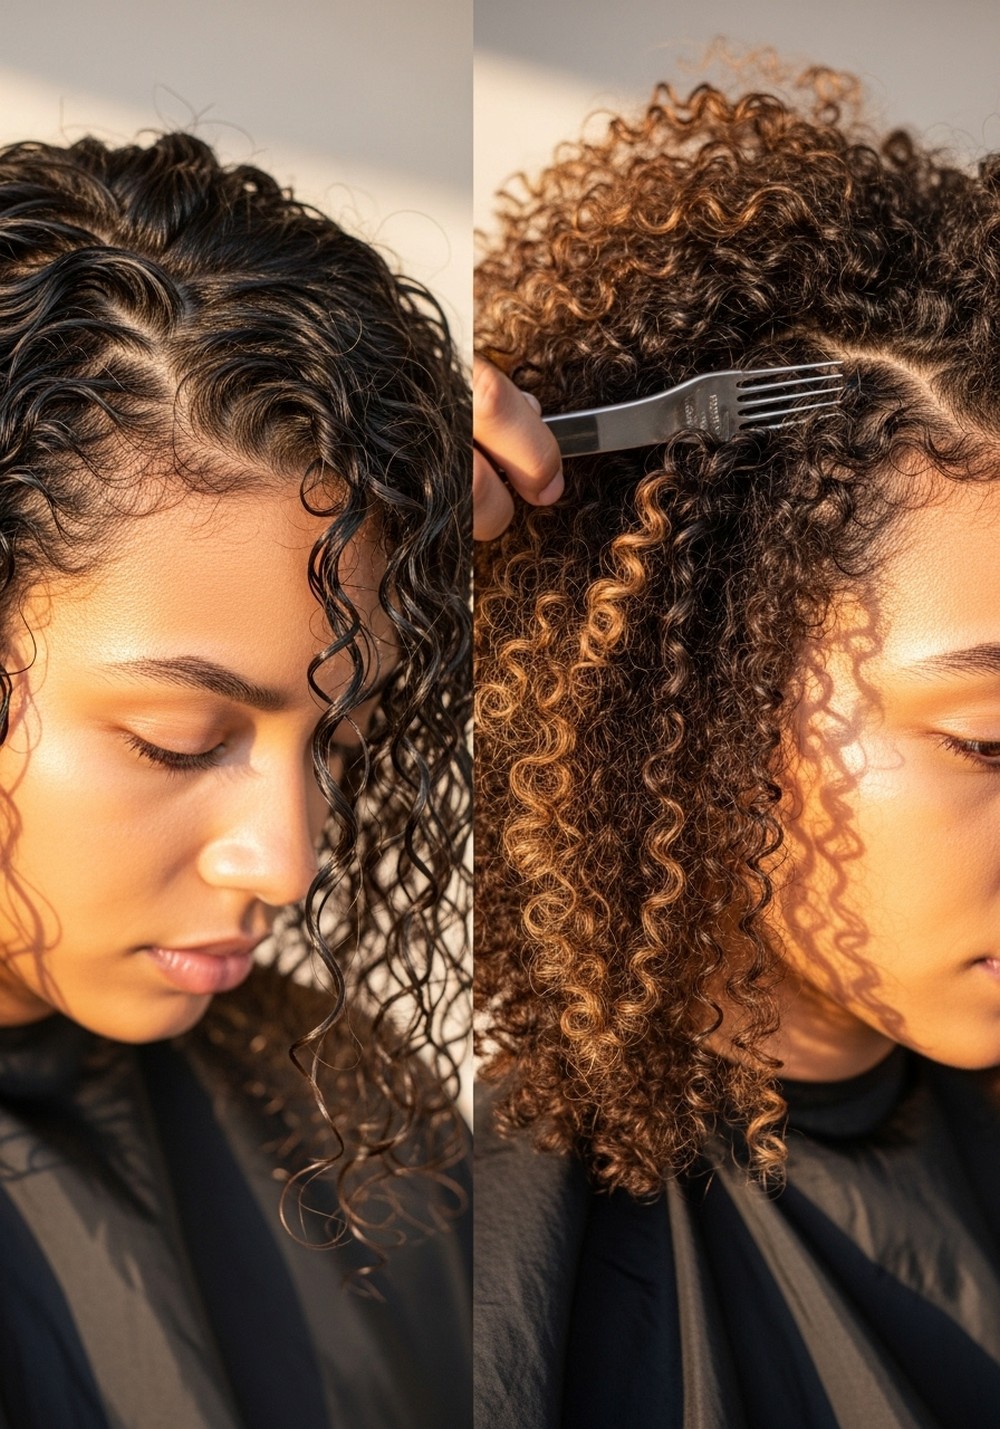
Bowl Soak Big Clumps

Big clumps = big volume with less frizz. After leave-in and cream, dunk ends into a bowl and pour water-product mix back over lengths several times. Gel glaze, then diffuse. The water weight smooths frizz while keeping lift at the crown. Style tip: micro-plop only 20–30 seconds so clumps stay hefty.
How To Style
- Leave-in + cream; bowl soak/pour.
- Gel glaze; micro-plop briefly.
- Hover; cup to finish.
- Break cast.
Best For
3A–3C; frizz-prone hair.
Occasion & Season
Perfect for: humid months.
Key Pieces
mixing bowl, leave-in, cream, gel, microfiber towel
Paper Towel Blot & Bounce

If towels wreck your curl shape, blot with plain paper towels. Style as usual, then gently press at the ends to remove surface water without disrupting clumps. Diffuse low. You’ll get quicker dry time and lighter bounce. Style tip: focus blotting on the underside to preserve canopy shine.
How To Style
- Products on wet hair.
- Paper-towel blot ends/underside.
- Diffuse low; flip once.
- Oil-scrunch.
Best For
2C–3B; time-savers.
Occasion & Season
Perfect for: busy mornings.
Key Pieces
paper towels, diffuser, light oil
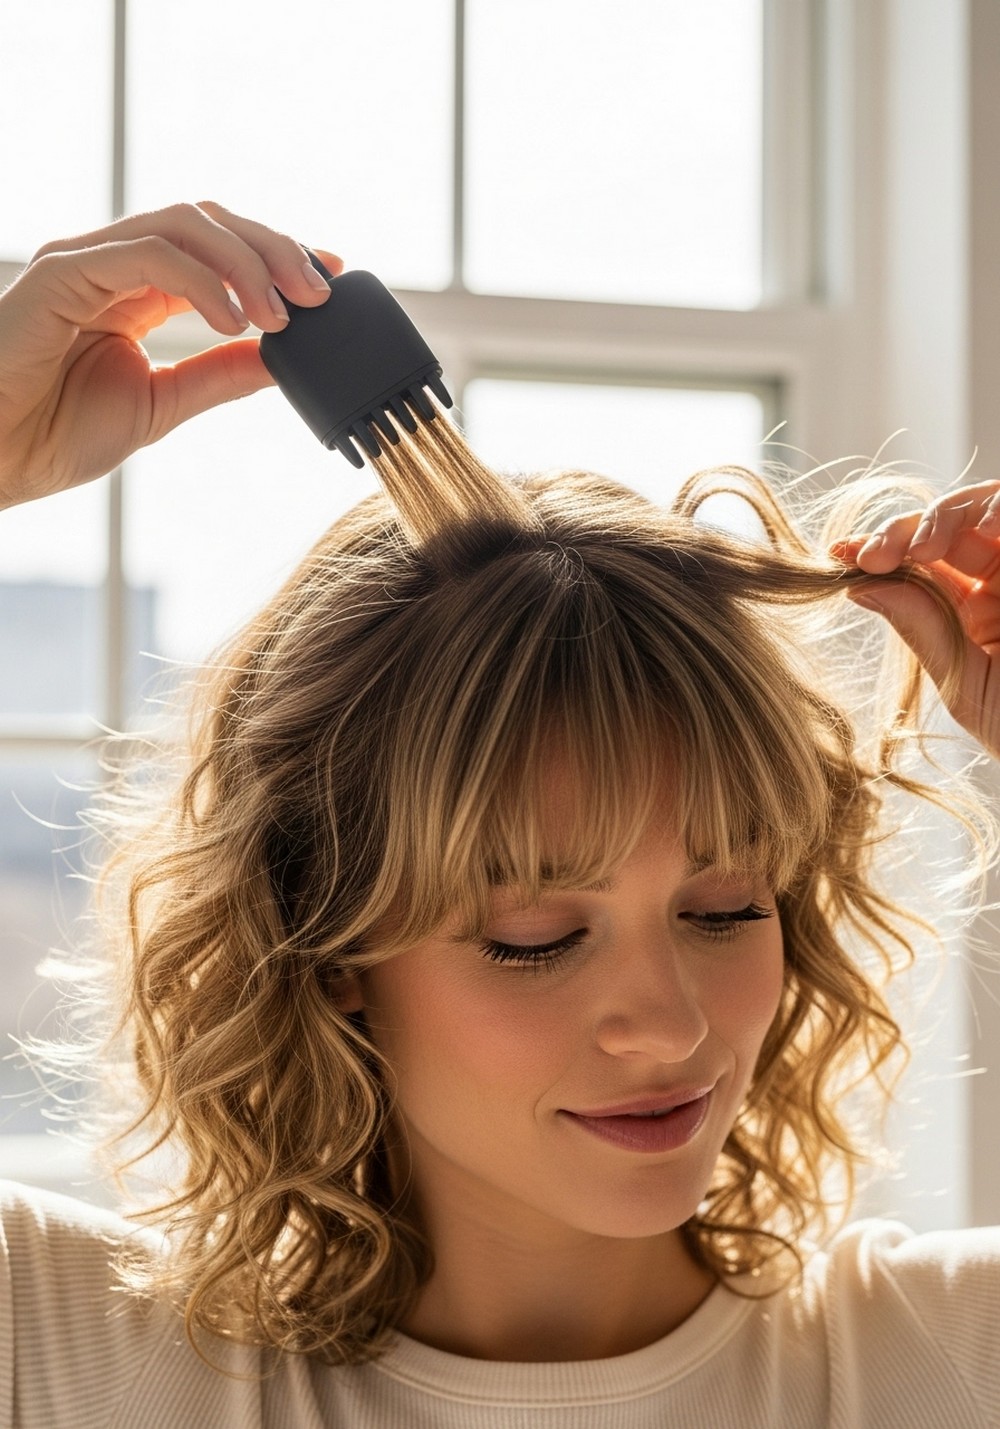
Pixie Diffuser Perimeter Lift
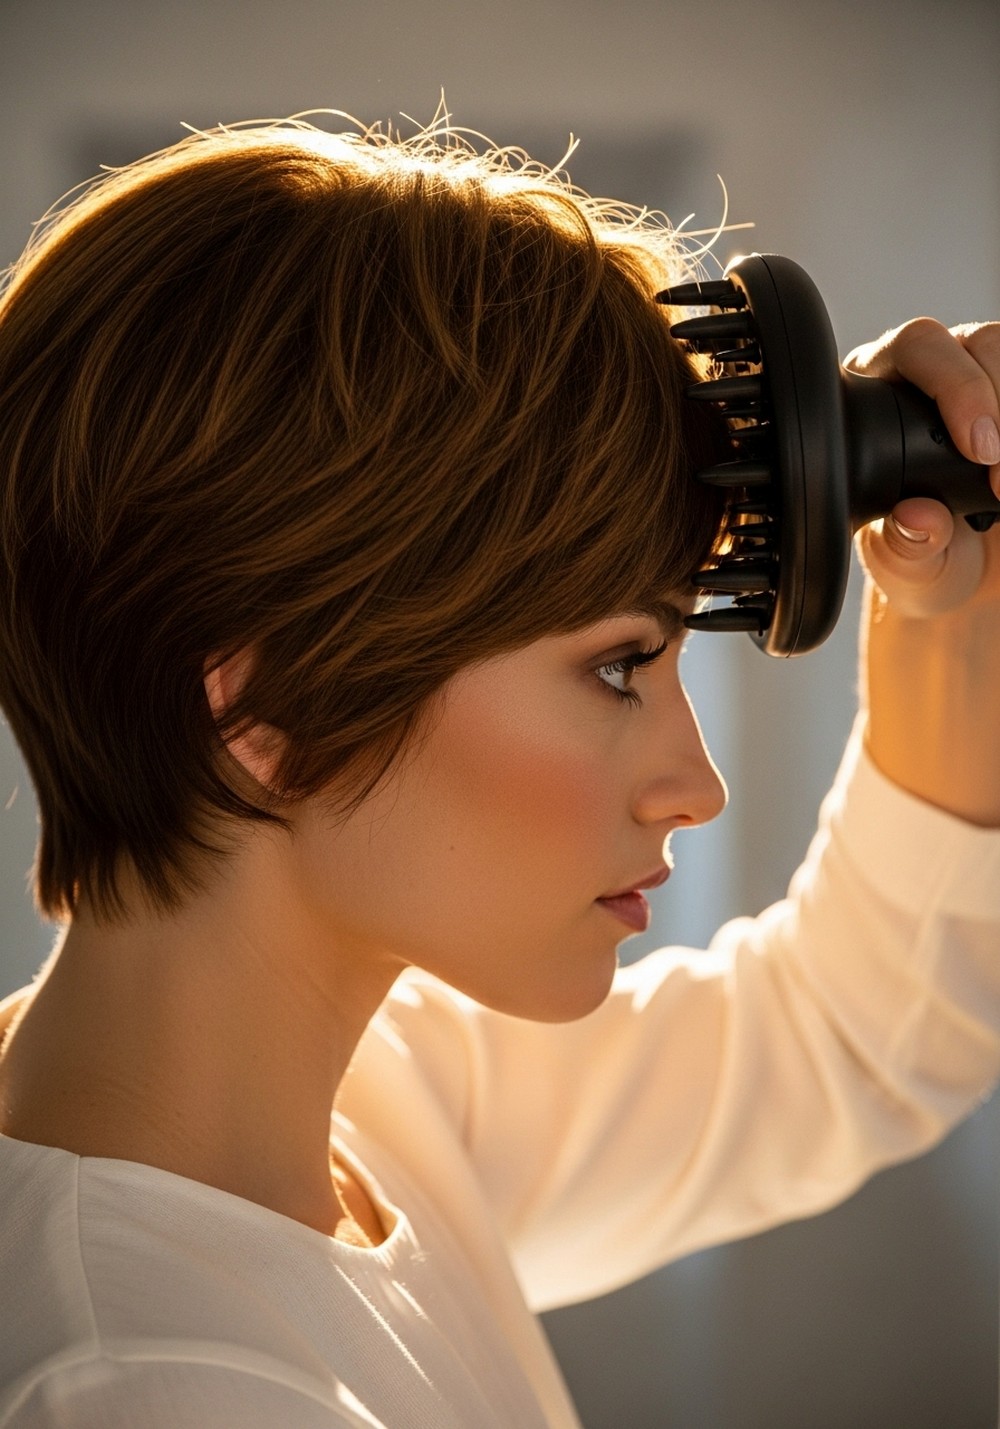
Use a hand-shaped pixie diffuser to lift the perimeter. After hover setting, cradle small sections at the nape and sides, pushing up to the scalp and holding still. Rotate around the head. This increases roundness and keeps ends springy. Style tip: stop when hair feels 95% dry; over-drying deflates.
How To Style
- Products; hover set.
- Cup with pixie diffuser perimeter.
- Finish crown lightly.
- Scrunch out cast.
Best For
Short to shoulder lengths; round shape.
Occasion & Season
Perfect for: errands, on-the-go.
Key Pieces
pixie diffuser, medium gel
Stretch Diffuse Roots Only

Lift roots without over-drying lengths. After product, hold ends gently to keep curl and focus the diffuser at the root area only, moving around the head. Once roots are dry, air-dry the rest. Volume appears where you need it most. Style tip: keep the airflow still; you’re drying, not blowing.
How To Style
- Style wet; clip crown optional.
- Diffuse roots only.
- Air-dry lengths.
- Break cast; fluff.
Best For
Thick 3A–3C; heat-sensitive ends.
Occasion & Season
Perfect for: quick mornings.
Key Pieces
diffuser, clips, gel
Strong Cast, Soft Fluff
Weather-proof volume starts with a strong gel cast. Apply generously, hover set, then cup until bone-dry. Once dry, warm a drop of oil in hands and scrunch everywhere. Pick only at the scalp for cloud lift and lasting shape. Style tip: blot with a paper towel before diffusing to prevent surface bubbles.
How To Style
- Strong-hold gel over leave-in.
- Hover then cup to 100% dry.
- Oil-scrunch; root pick.
- Hands off afterward.
Best For
All curl types; long days out.
Occasion & Season
Perfect for: events, travel.
Key Pieces
strong gel, oil, pick, diffuser
Humidity Shield Volume
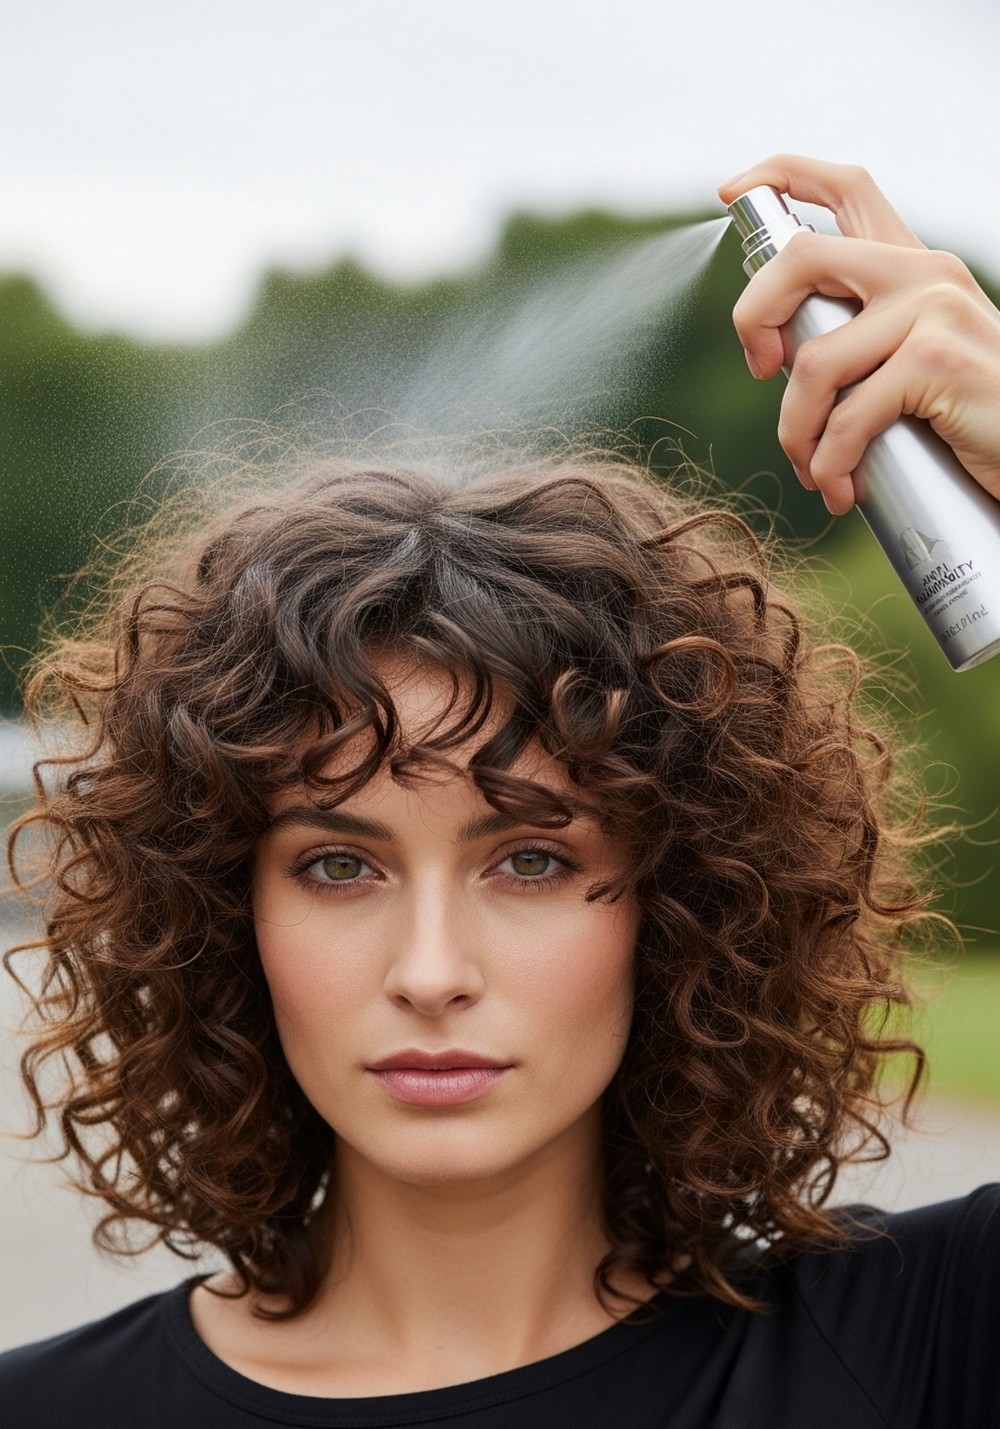
In damp air, thin layers win. Use a light leave-in, anti-humidity gel, and a finishing spray on the canopy only. Diffuse low until fully dry, then resist over-fluffing. Volume stays up; frizz stays down. Style tip: keep a mini mist for mid-day flyaways—spray into palms, then pat.
How To Style
- Light leave-in; humidity-proof gel.
- Diffuse low; cool-shot.
- Canopy spray; gentle fluff.
- Do not over-scrunch.
Best For
2C–3C in humid climates.
Occasion & Season
Perfect for: summers, monsoon.
Key Pieces
anti-humidity gel, finishing spray, diffuser
Dry Climate Moisture Stack

Arid air flattens curls. Layer hydration: leave-in on soaking-wet hair, cream for slip, cream-gel for hold, then a light gel veil. Diffuse on low heat only. Finish with a few oil drops on ends. Volume is soft, not crispy. Style tip: avoid high heat; it flashes off water too fast.
How To Style
- Leave-in → cream → cream-gel → light gel.
- Hover/cup on low heat.
- Oil on ends; pick lightly.
- Hands off.
Best For
3A–3C; desert or heated rooms.
Occasion & Season
Perfect for: winter, dry zones.
Key Pieces
leave-in, cream, cream-gel, light gel, oil
Five Minute Lunch Refresh
Revive flat roots midday without washing. Mist the crown lightly, add a puff of foam at roots, clip-lift for five minutes, then hit with a quick low-heat diffuse. Shake and go. Style tip: touch the canopy last to keep frizz down.
How To Style
- Water mist; root foam.
- Clip crown 5 minutes.
- Short diffuse; unclip.
- Shake; smooth flyaways.
Best For
All curls; office breaks.
Occasion & Season
Perfect for: mid-day reset.
Key Pieces
spray bottle, root foam, clips, diffuser
Post Workout Root Reset
ree minutes on low until dry, leaving lengths alone. Volume returns without redoing your whole head. Style tip: clip bangs off the face while cooling down to prevent dents.
How To Style
- Scalp mist/rinse; blot.
- Foam at roots.
- Short diffuse on low.
- Fluff crown; stop.
Best For
Active days; 2C–3C.
Occasion & Season
Perfect for: gym-to-errands.
Key Pieces
scalp refresher, root foam, diffuser, clips
Finger Coil Face Pieces

Frame the face with consistent spirals for polished volume up front. After styling, finger-coil small front sections with a cream-gel, diffuse those coils cupped, then dry the rest. Separate gently once cool. Style tip: vary coil size slightly so it looks natural.
How To Style
- Cream-gel on face sections.
- Coil; cup-diffuse.
- Dry rest; cool-shot.
- Separate; oil-smooth.
Best For
3A–3C; special days.
Occasion & Season
Perfect for: photos, dinners.
Key Pieces
cream-gel, diffuser, light oil
Butterfly Clip Lift
Create airy lift by clipping small “butterfly” sections at the crown and sides before diffusing. Place two to four clips where you want height, hover set, then remove and cup to finish. The shape expands upward, not outward. Style tip: clip slightly behind the hairline so volume looks seamless.
How To Style
- Products; section and clip.
- Hover set; remove clips.
- Cup to dry.
- Break cast; pick.
Best For
All curls; crown height.
Occasion & Season
Perfect for: meetings, events.
Key Pieces
sectioning clips, diffuser, pick
Curtain Bang Volume Set
Keep bangs airy, not flat. Style fringe separately with a tiny bit of foam and gel, diffuse with a small brush lifting at the roots, then finish the rest. Once dry, pinch ends with a drop of serum. Style tip: stop product a finger-width from the fringe roots to avoid collapse.
How To Style
- Foam + gel on fringe only.
- Lift and diffuse fringe roots.
- Dry rest; cool-shot.
- Serum pinch on tips.
Best For
2C–3B with curtain fringe.
Occasion & Season
Perfect for: day-to-night.
Key Pieces
root foam, light gel, small brush, serum
Short Halo Max Lift
Cheekbone-to-chin lengths can go huge—on purpose. Use foam at roots, cream-gel on lengths, and strong gel over the top. Hover set, then cup all around in short holds. Pick only the crown to round the silhouette. Style tip: stop at 95% dry to keep a soft halo.
How To Style
- Foam roots; cream-gel lengths; strong gel veil.
- Hover; cup evenly.
- Pick crown; oil-scrunch.
- Hands off.
Best For
Short 3A–3C; statement volume.
Occasion & Season
Perfect for: weekends, events.
Key Pieces
foam, cream-gel, strong gel, pick, oil
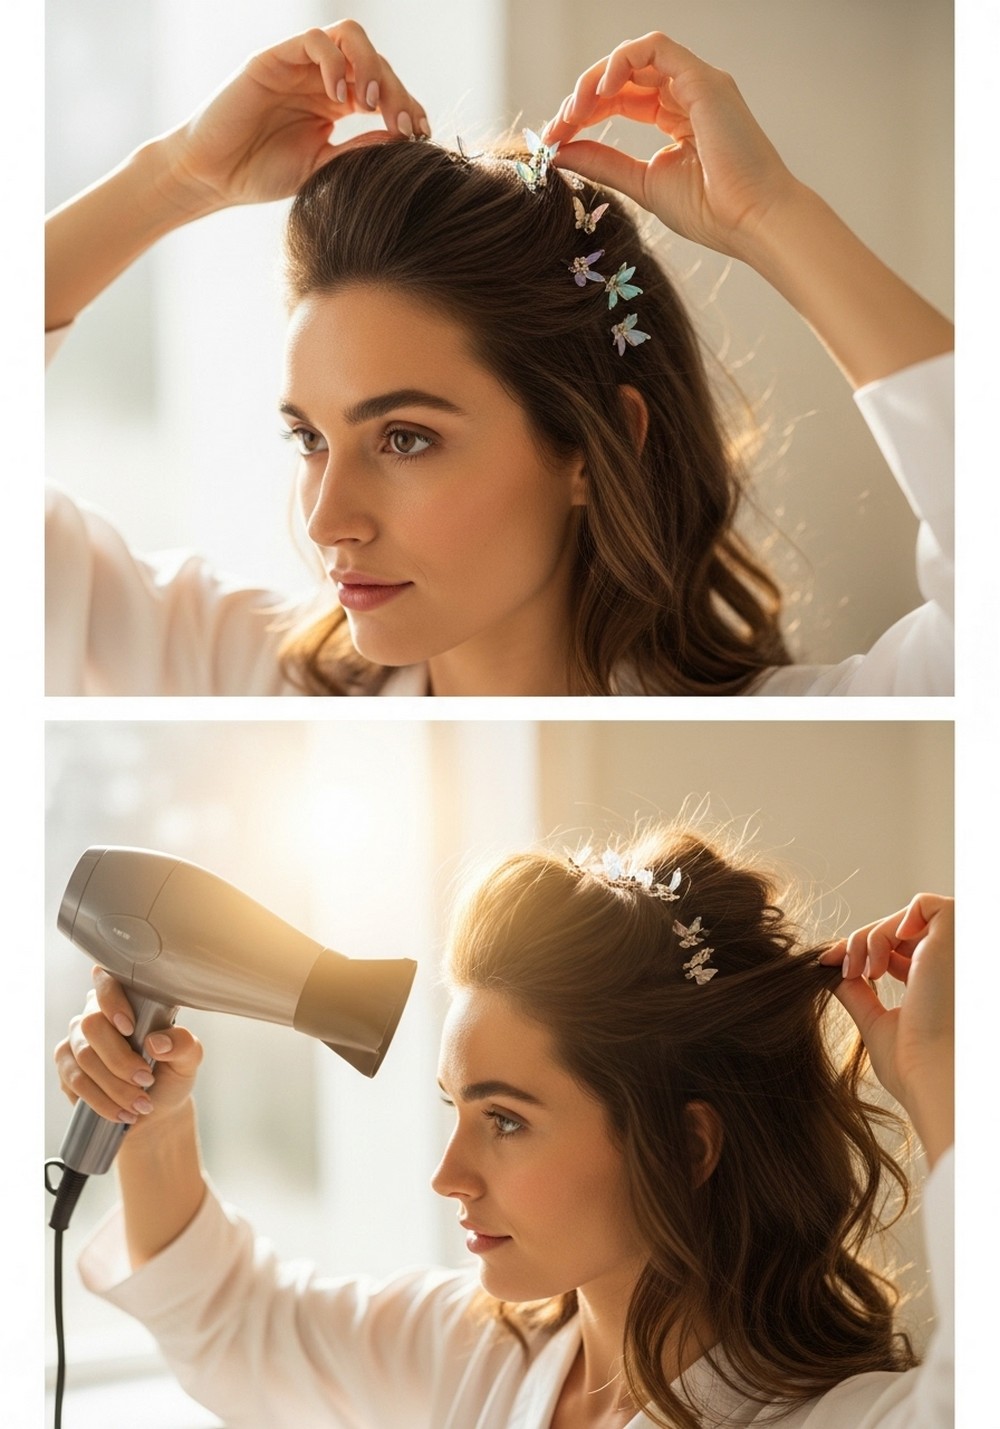
Special Event Gloss Volume
Shiny, touchable lift for photos. Layer leave-in, a light cream, then medium gel. Diffuse to 80%, cool-shot to set, wait five minutes to cool fully, then oil-scrunch and pick roots softly. You get big, glossy curls that last. Style tip: clip two face pieces while doing makeup, then release for polished framing.
How To Style
- Leave-in → light cream → medium gel.
- Diffuse 80%; cool-shot.
- Rest 5 min; oil-scrunch.
- Gentle root pick.
Best For
2C–3C; photo days.
Occasion & Season
Perfect for: weddings, parties.
Key Pieces
leave-in, light cream, medium gel, diffuser, oil, pick
Conclusion
Volume from diffusing is simple: light, layered products on soaking-wet hair, patient low-heat drying, and zero touching until fully set. Build lift where you want it—with clips, flips, and root-focused airflow—then keep fluffing to the scalp only. Repeat the routine a few times; consistency makes curls bigger and better.
CTA: Save this guide and pick two techniques to try this week—note what works, repeat it next wash day, and enjoy soft, sky-high curls.
FAQs
1) Why does my volume collapse after an hour?
Usually the roots stayed too wet or products were heavy. Lift sections with clips while you diffuse, use lighter foam near the scalp, and make sure roots are fully dry before touching.
2) What heat and speed should I use?
Low heat and low speed reduce frizz and keep clumps intact. Start with a hover to set the surface, then cup and hold. If you need speed, increase airflow only after a light cast forms.
3) Foam or cream for volume days?
Foam gives lift with minimal weight; cream adds moisture and stretch. Fine or low-density curls often prefer foam + gel, while thicker curls like cream under gel.
4) How do I keep volume in humidity?
Layer thinly and choose a humidity-resistant gel. Finish with an anti-humidity spray on the canopy only. Avoid over-scrunching once dry—fluff at the roots instead.
5) Can I diffuse daily?
Yes on low heat, as long as you hydrate and avoid yanking the curls. Use a heat protectant, keep sessions short on refresh days, and focus airflow at the roots.