18 Defined Ringlets Routine Hairstyle Ideas
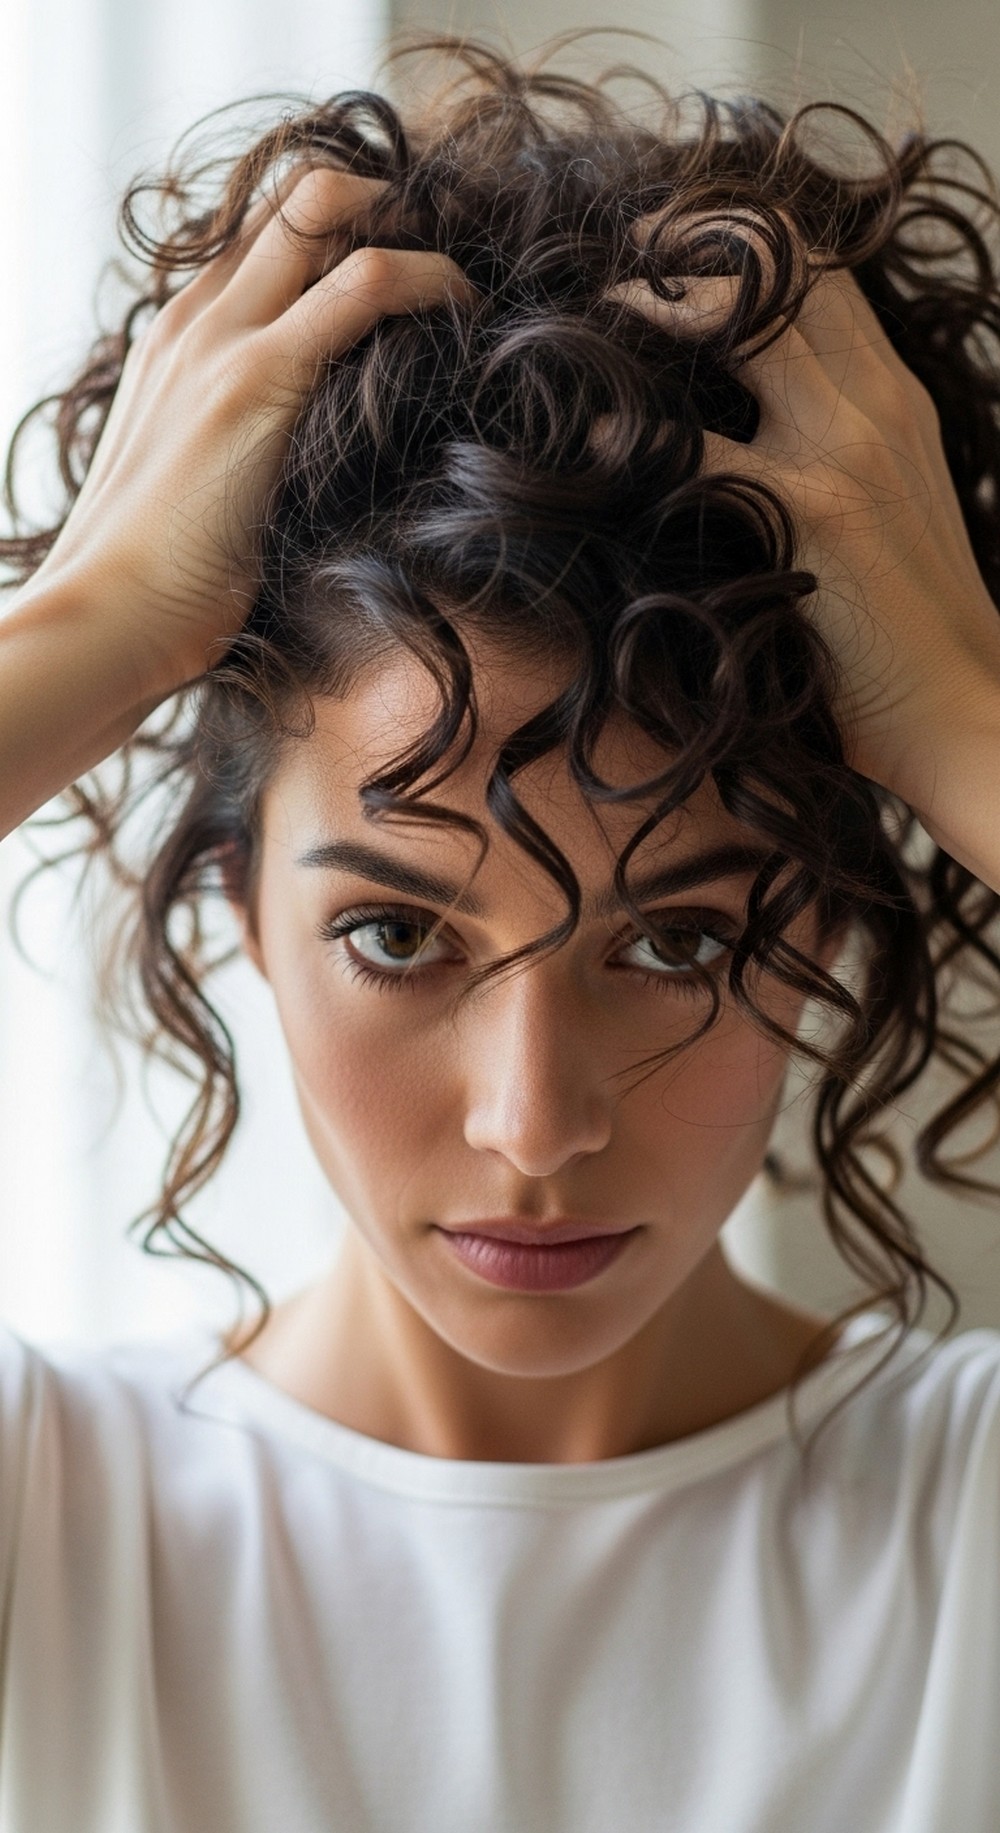
Defined ringlets come from simple, repeatable steps: clean hydration, light hold, and hands-off drying. This guide gives you eighteen routines that fit real life—from five-minute refreshes to full wash days and sweat-proof sets. You’ll see how to choose the right cleanser, layer moisture and hold, shape clumps, and dry with low disruption. Each routine includes when to use it, quick tips, and a short tools list. Adjust hold to your climate: more gel for humidity, more cream for dry air. Keep layers thin, avoid over-touching, and let curls set before you scrunch. Consistency wins—small habits add up to springy, glossy ringlets.
What the list covers
Wash-day formulas, refresh methods, overnight sets, gym-safe fixes, travel routines, and humidity or dry-climate tweaks for defined ringlets.
Who it suits
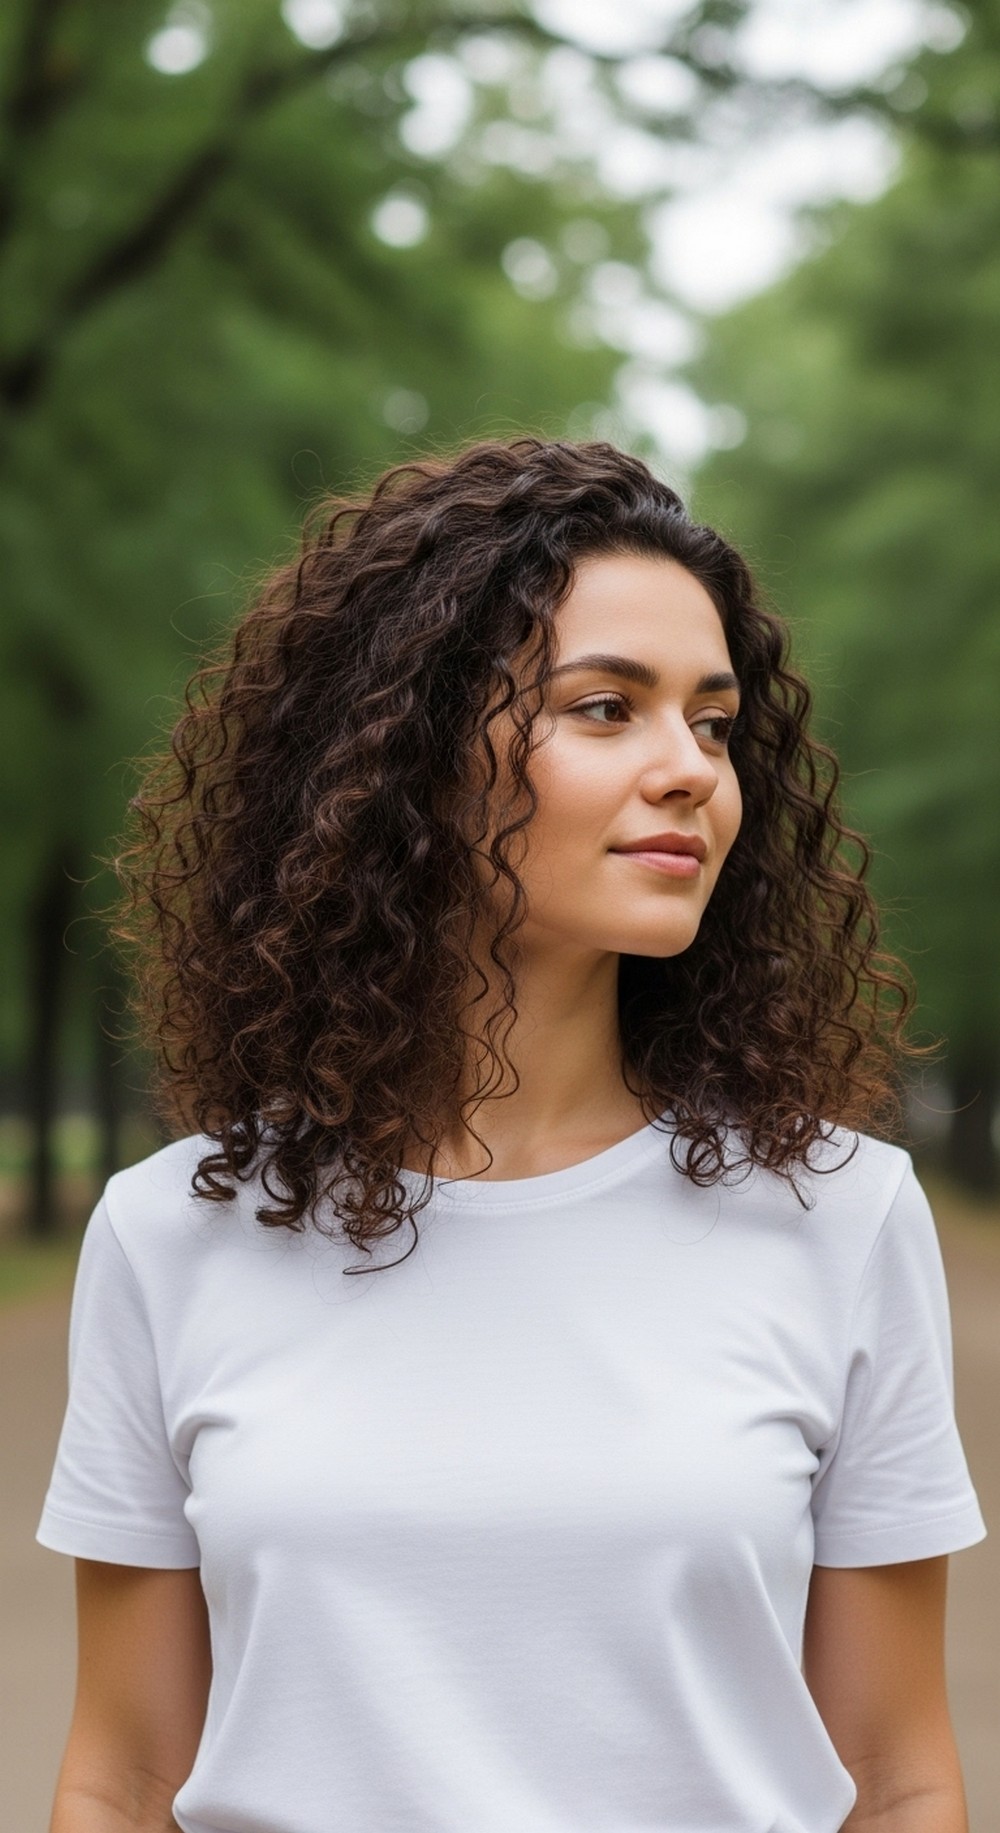
Waves-to-coils leaning ringlet (2C–4A), fine to dense hair, short to long lengths. Great for anyone wanting bounce, shine, and frizz control with minimal fuss.
Basic styling and layering approach
Cleanse gently, condition well, apply leave-in on soaking-wet hair, then layer a cream or foam and a gel. Form clumps, remove extra water, and dry with low heat/low speed or air-dry. Scrunch out the cast once fully dry.
Quick List
- Classic Wash-Day Ringlets
- Cream-Then-Gel Hydration Set
- Foam + Gel for Fine Curls
- Brush Curl Clumps
- Rake-and-Shake Definition
- Bowl Method Soak & Set
- Micro-Plop Minimalist
- Hover Diffuse, Then Cup
- Gel Cast, Oil Scrunch
- Humidity Shield Routine
- Dry-Climate Moisture Stack
- Five-Minute Morning Refresh
- Post-Workout Reset
- Overnight Curl Clip Set
- Curl Training with Finger Coils
- Hot Weather Wet Look
- Soft Volume with Root Lift
- Special-Event Gloss Set
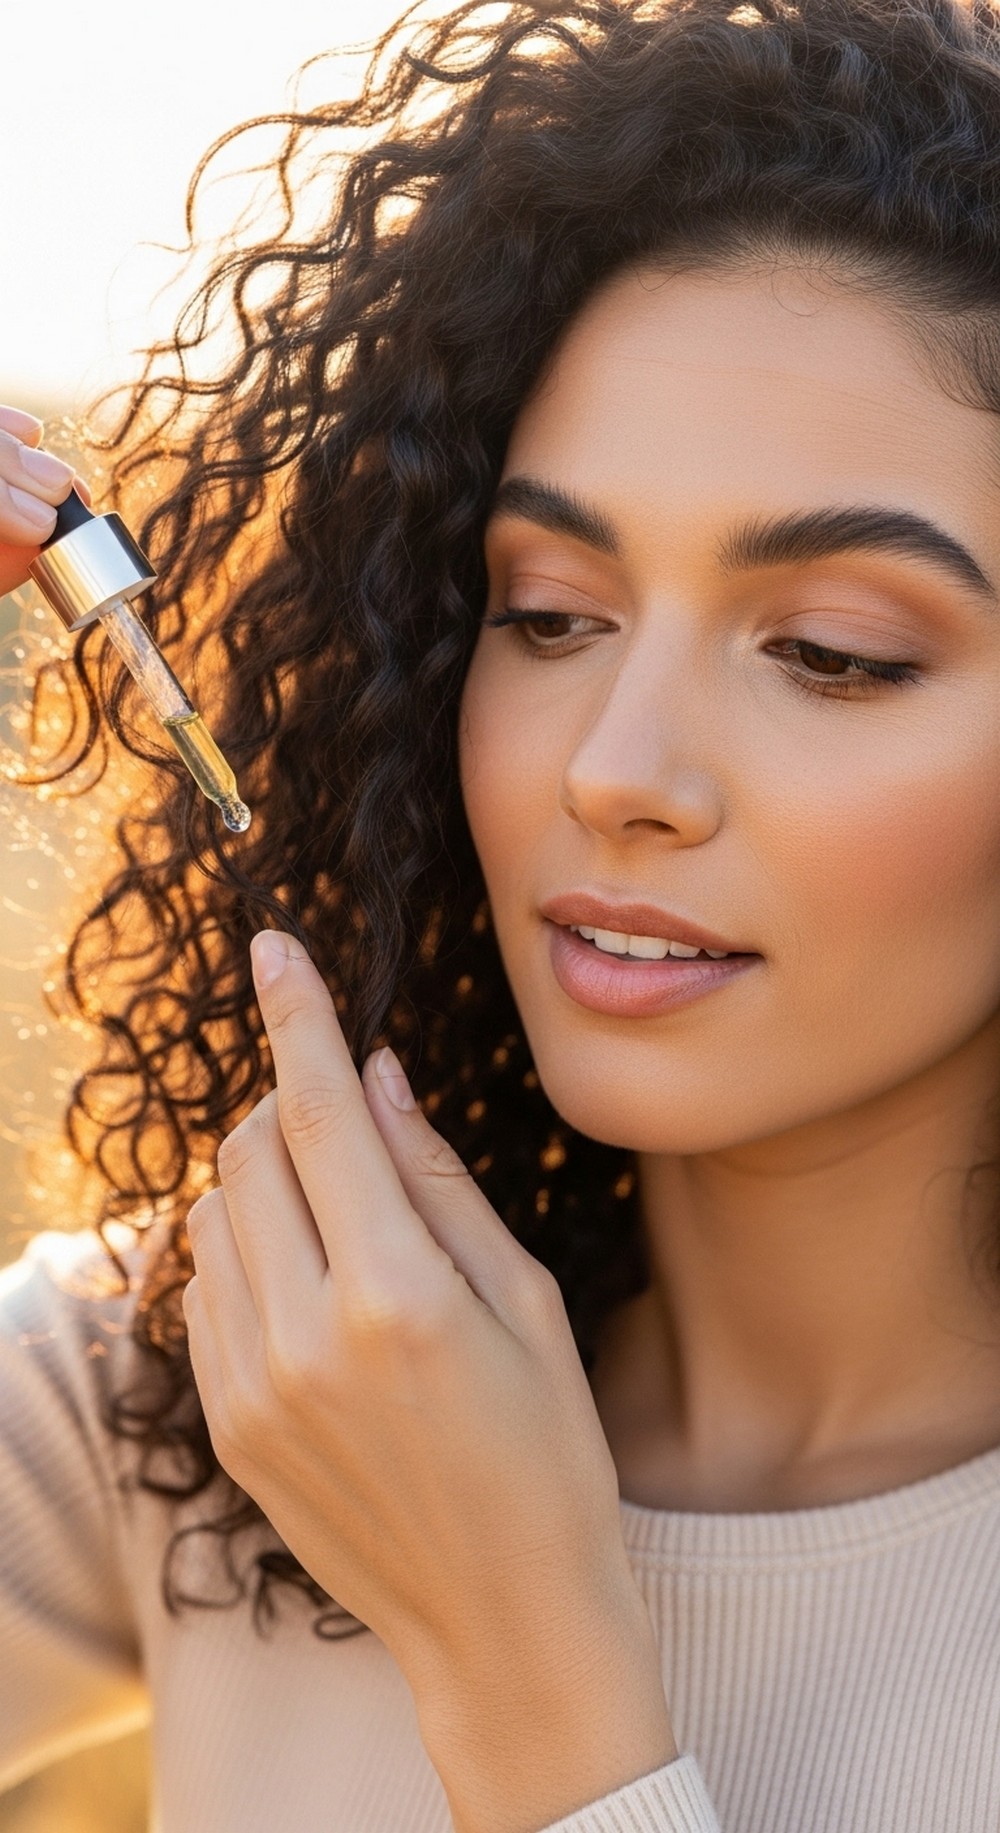
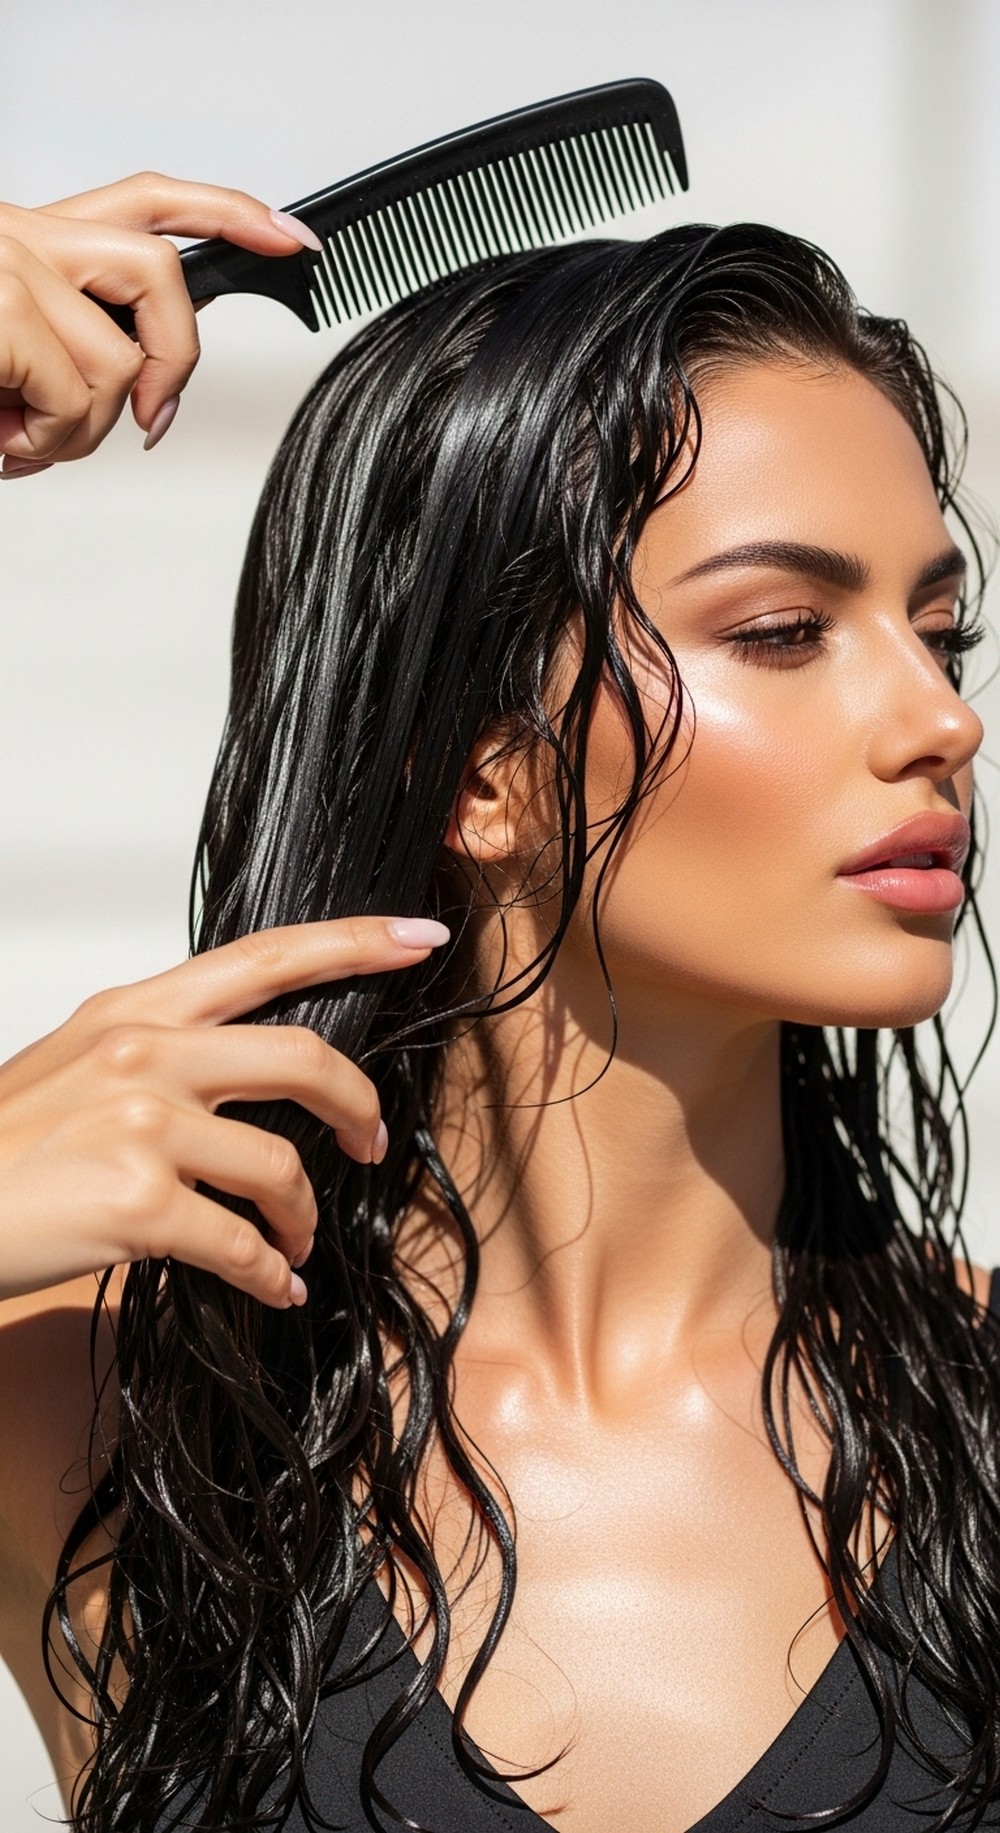
Classic Wash Day Ringlets
Start with a gentle cleanse to lift oil without stripping, then condition from ears down and detangle in sections. Apply leave-in on soaking-wet hair for slip. Work curl cream through mids and ends, then glaze gel over everything for hold. Encourage clumps with praying hands and light scrunches. Remove extra water with a microfiber towel—no rubbing. Diffuse on low or air-dry without touching. Once fully dry, scrunch out the gel cast for soft, springy ringlets. Style tip: part while wet and clip the crown for lift.
How To Style
- Cleanse; condition and detangle.
- Leave-in, then cream, then gel.
- Microfiber scrunch; diffuse low.
- Break cast; pick roots lightly.
Best For
2C–3B curls; normal climates.
Occasion & Season
Perfect for: everyday wear, year-round.
Key Pieces
gentle cleanser, conditioner, leave-in, curl cream, medium-hold gel, microfiber towel, diffuser, root clips
Cream Then Gel Hydration Set
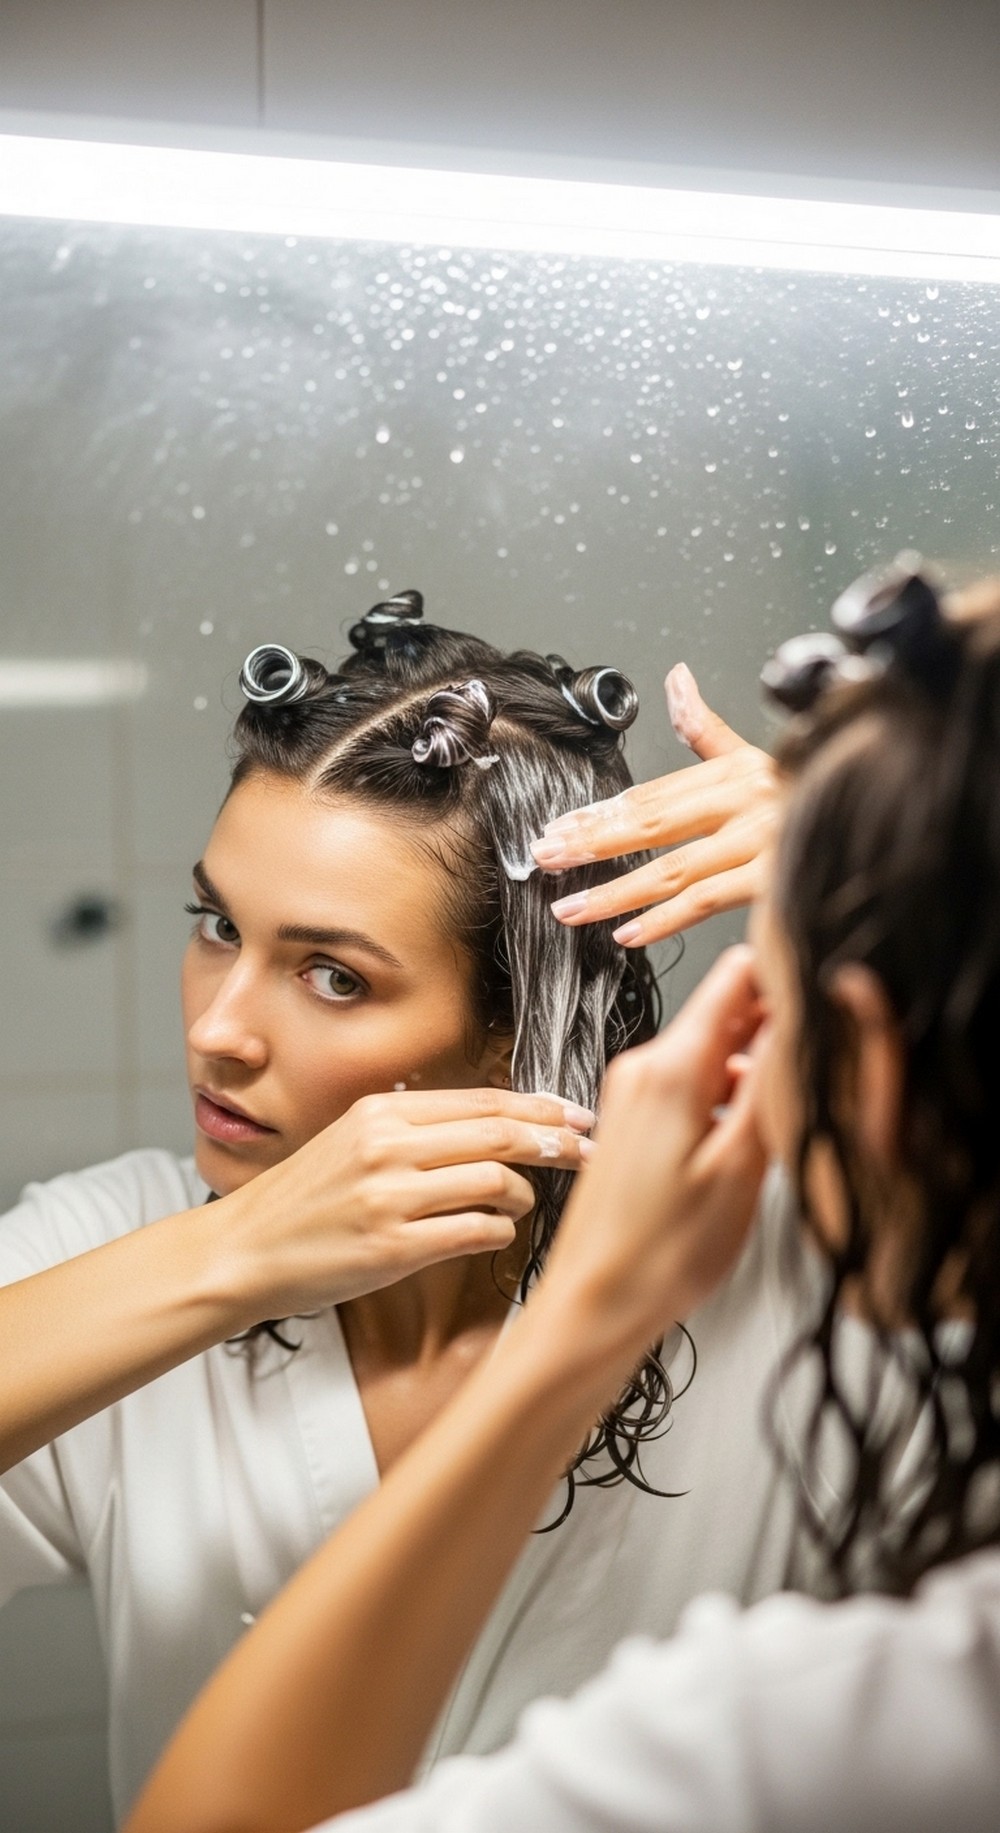
When curls feel thirsty, load hydration first. On dripping-wet hair, smooth leave-in, then a richer cream from mid-lengths to ends. Glaze gel over the top to lock the water in place. The cream fills in dry spots; the gel keeps shape. Avoid heavy hands at the roots so you keep lift. Diffuse on low until 80–90% dry and let the rest air-dry. Style tip: if ends look puffy, add a pea of cream just to tips before drying.
How To Style
- Leave-in on soaking-wet hair.
- Cream mids/ends; gel glaze.
- Hover diffuse; finish air-dry.
- Scrunch out cast with clean hands.
Best For
3A–3C curls; dry or winter air.
Occasion & Season
Perfect for: cool, dry months.
Key Pieces
leave-in conditioner, rich curl cream, defining gel, diffuser
Foam + Gel for Fine Curls

For fine hair that falls flat, go light. Apply leave-in sparingly, then a volumizing foam for lift and separation. Seal with a light to medium gel so ringlets hold without weight. Flip hair forward and scrunch to encourage clumps, then micro-plop for a minute to remove extra water. Diffuse upside down on low. Style tip: stop adding product once strands feel “slippy”; extra layers can collapse volume.
How To Style
- Light leave-in, then foam.
- Glaze light gel.
- Micro-plop; diffuse upside down.
- Break cast; mist roots if needed.
Best For
2C–3A fine curls; low density.
Occasion & Season
Perfect for: workdays, mild weather.
Key Pieces
light leave-in, volumizing foam, light gel, microfiber towel, diffuser
Brush Curl Clumps

Use a curl-friendly brush on wet, product-loaded hair to create ribbon-like clumps. Brush out from the scalp in small sections, then shake and let curls spring back. This evens distribution and reduces frizz. Finish with gel if needed and diffuse on low, cupping ends. Style tip: brush each section forward and away to encourage uniform ringlets that stack neatly.
How To Style
- Leave-in + cream on wet hair.
- Brush in small sections to form ribbons.
- Add gel; scrunch.
- Diffuse low; hands off.
Best For
3A–3B curls; medium density.
Occasion & Season
Perfect for: photos, tidy days.
Key Pieces
detangling/curl brush, leave-in, curl cream, gel, diffuser
Rake and Shake Definition
Rake product through soaking-wet hair with spread fingers, then hold the ends and shake gently so ringlets pop into place. The shake releases clumps without fuzz. Seal with gel and avoid touching while drying. This gives defined, bouncy curls with natural separation. Style tip: add extra shake at the crown to break up heavy sections and create lift.
How To Style
- Apply leave-in and gel on wet hair.
- Rake in sections; shake ends.
- Scrunch lightly; air-dry or diffuse.
- Break cast once fully dry.
Best For
2C–3B curls; quick routines.
Occasion & Season
Perfect for: everyday, any season.
Key Pieces
leave-in, medium gel, clips, diffuser (optional)
Bowl Method Soak & Set
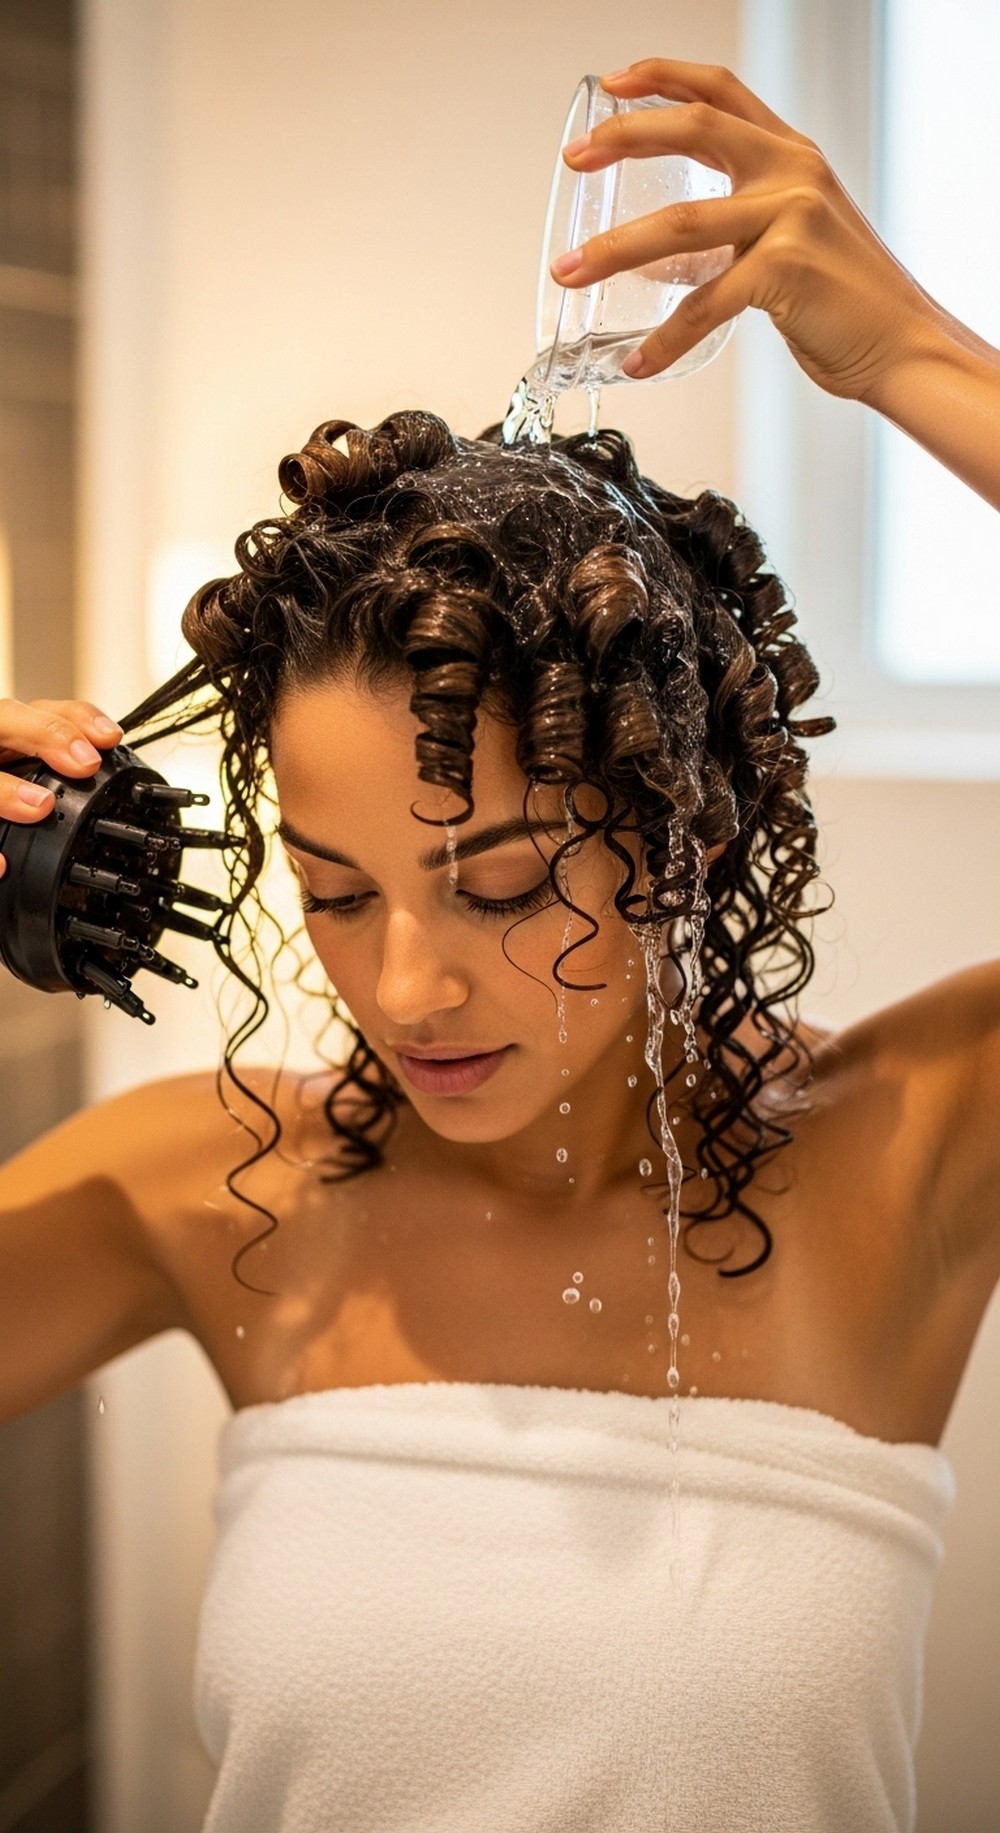
Work leave-in and cream through wet hair, then hover your curls into a bowl of water and pour the milky water back over your hair several times. This redistributes slip and encourages big clumps. Seal with gel and scrunch. Diffuse on low. Style tip: keep a towel on your shoulders and don’t squeeze too hard; the water “weight” sets ringlets smoother.
How To Style
- Leave-in + cream; bowl soak and pour.
- Add gel; scrunch.
- Hover diffuse; finish air-dry.
- Break cast with light oil.
Best For
3A–3C curls; frizz-prone.
Occasion & Season
Perfect for: humid days.
Key Pieces
mixing bowl, leave-in, curl cream, gel, diffuser, lightweight oil
Micro Plop Minimalist

Short on time? Apply leave-in and gel on wet hair, then micro-plop with a microfiber towel for 30–60 seconds to remove excess water without crushing clumps. Air-dry while you get ready, then finish with a five-minute diffuse to lock ends. Style tip: scrunch only with the towel—hands off afterward.
How To Style
- Leave-in; glaze gel.
- Micro-plop 30–60 seconds.
- Air-dry; quick diffuse.
- Break cast gently.
Best For
2C–3A curls; busy mornings.
Occasion & Season
Perfect for: school runs, office.
Key Pieces
leave-in, gel, microfiber towel, diffuser
Hover Diffuse, Then Cup
To reduce frizz, set the surface first: hover the diffuser around your head on low heat and speed until the top forms a light cast. Then cup sections from ends upward to finish. This two-stage dry keeps curl pattern crisp. Style tip: keep the nozzle still while hovering—movement adds flyaways.
How To Style
- Products on wet hair as usual.
- Hover diffuse to set surface.
- Cup and hold sections to dry.
- Scrunch out cast with oil.
Best For
3A–3C curls; frizz-prone tops.
Occasion & Season
Perfect for: windy days.
Key Pieces
diffuser, leave-in, styler of choice, light oil
Gel Cast, Oil Scrunch

Lean into a strong gel cast for weather-proof definition. Apply gel generously on wet hair, avoid touching while drying, and let the cast form. Once fully dry, warm a drop of oil between palms and scrunch to soften. You get glossy ringlets with staying power. Style tip: use paper-towel blotting before drying to cut surface water without removing product.
How To Style
- Strong gel over leave-in.
- Blot with paper towel.
- Diffuse or air-dry fully.
- Oil scrunch to break cast.
Best For
All curl types; long days out.
Occasion & Season
Perfect for: travel, events.
Key Pieces
leave-in, strong-hold gel, paper towels, lightweight oil, diffuser
Humidity Shield Routine
Fight puff in damp air by layering thin, humidity-resistant products. Use a light cleanser, a humectant-balanced leave-in, and a gel with humidity blockers. Seal ends with a tiny bit of serum. Dry on low and avoid outdoor wind until set. Style tip: once dry, mist anti-humidity spray over the canopy only.
How To Style
- Cleanse; light conditioner.
- Leave-in; humidity-proof gel.
- Diffuse low; hands off.
- Finish with anti-humidity spray.
Best For
3A–3C curls; tropical or rainy climates.
Occasion & Season
Perfect for: summer, monsoon season.
Key Pieces
gentle cleanser, lightweight leave-in, anti-humidity gel, serum, anti-humidity spray, diffuser
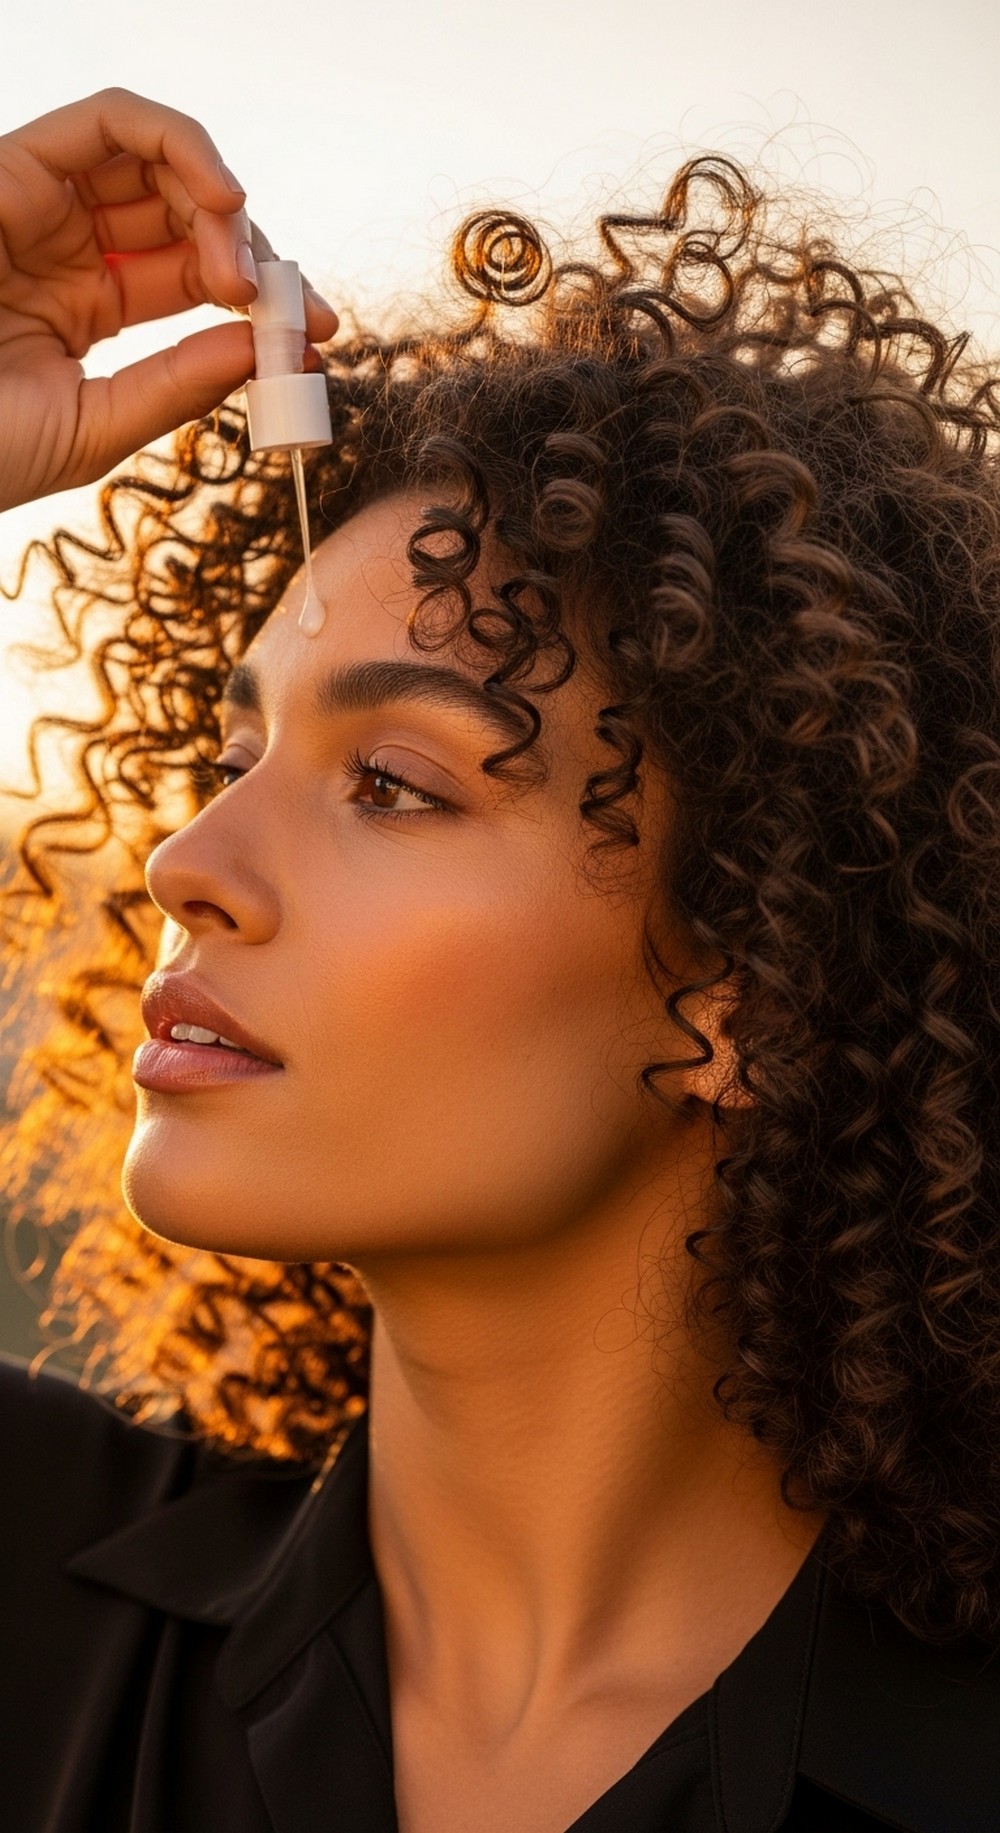
Dry Climate Moisture Stack
In arid air, water disappears fast. Load hydration: leave-in on soaking-wet hair, cream for slip, a cream-gel or custard to lock, then a soft gel veil. Keep airflow low and avoid hot diffusing. Style tip: finish with a few drops of oil on ends only to prevent crisp tips.
How To Style
- Leave-in; cream; cream-gel.
- Light gel glaze.
- Air-dry or low heat diffuse.
- Oil on ends; fluff roots.
Best For
2C–3B curls; desert or winter heat.
Occasion & Season
Perfect for: dry seasons, indoor heating days.
Key Pieces
leave-in, curl cream, cream-gel/custard, light gel, finishing oil
Five Minute Morning Refresh
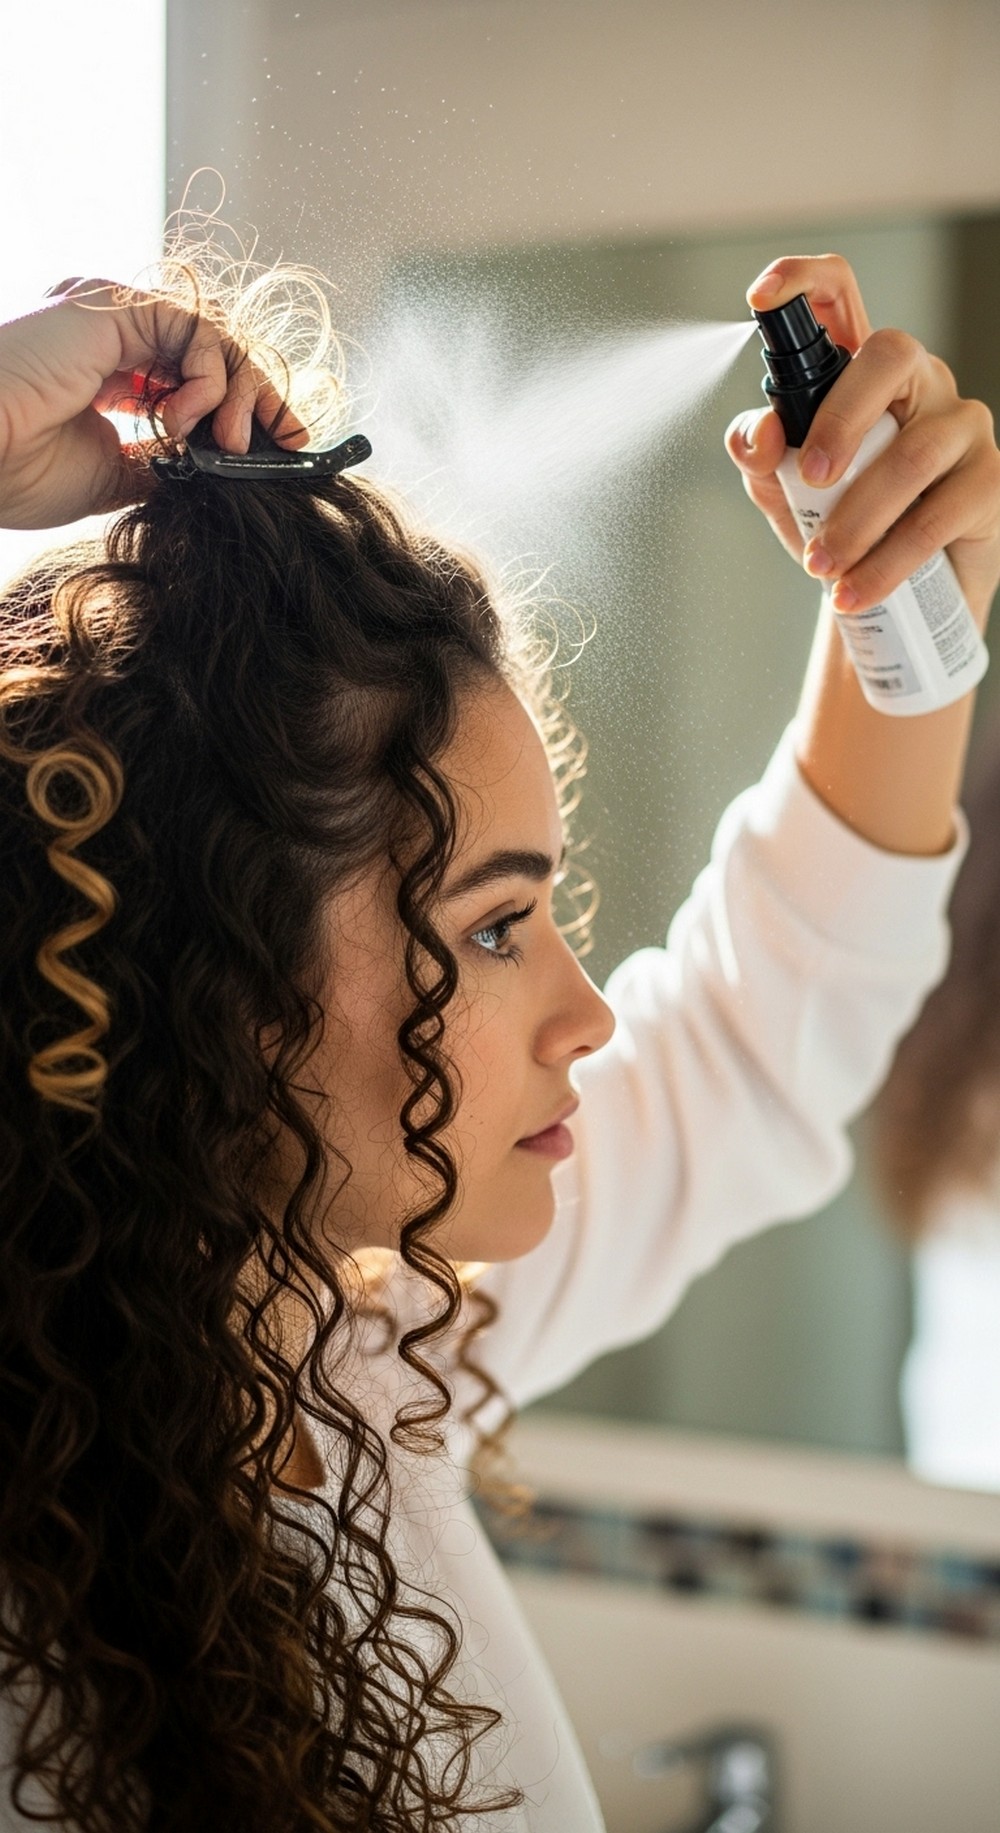
Wake up, mist curls with water or refresher, add a pea of cream or foam to your palms, and smooth over frizzy spots. Clip the crown for lift while you do skincare, then unclip and shake. Style tip: for stubborn curls, finger-coil a few face pieces and let them air-dry while you get dressed.
How To Style
- Mist; smooth tiny amount of styler.
- Clip crown 5–10 minutes.
- Finger-coil a few pieces.
- Shake out; go.
Best For
All curl types; busy mornings.
Occasion & Season
Perfect for: weekdays, travel.
Key Pieces
spray bottle, light cream or foam, root clips
Post Workout Reset
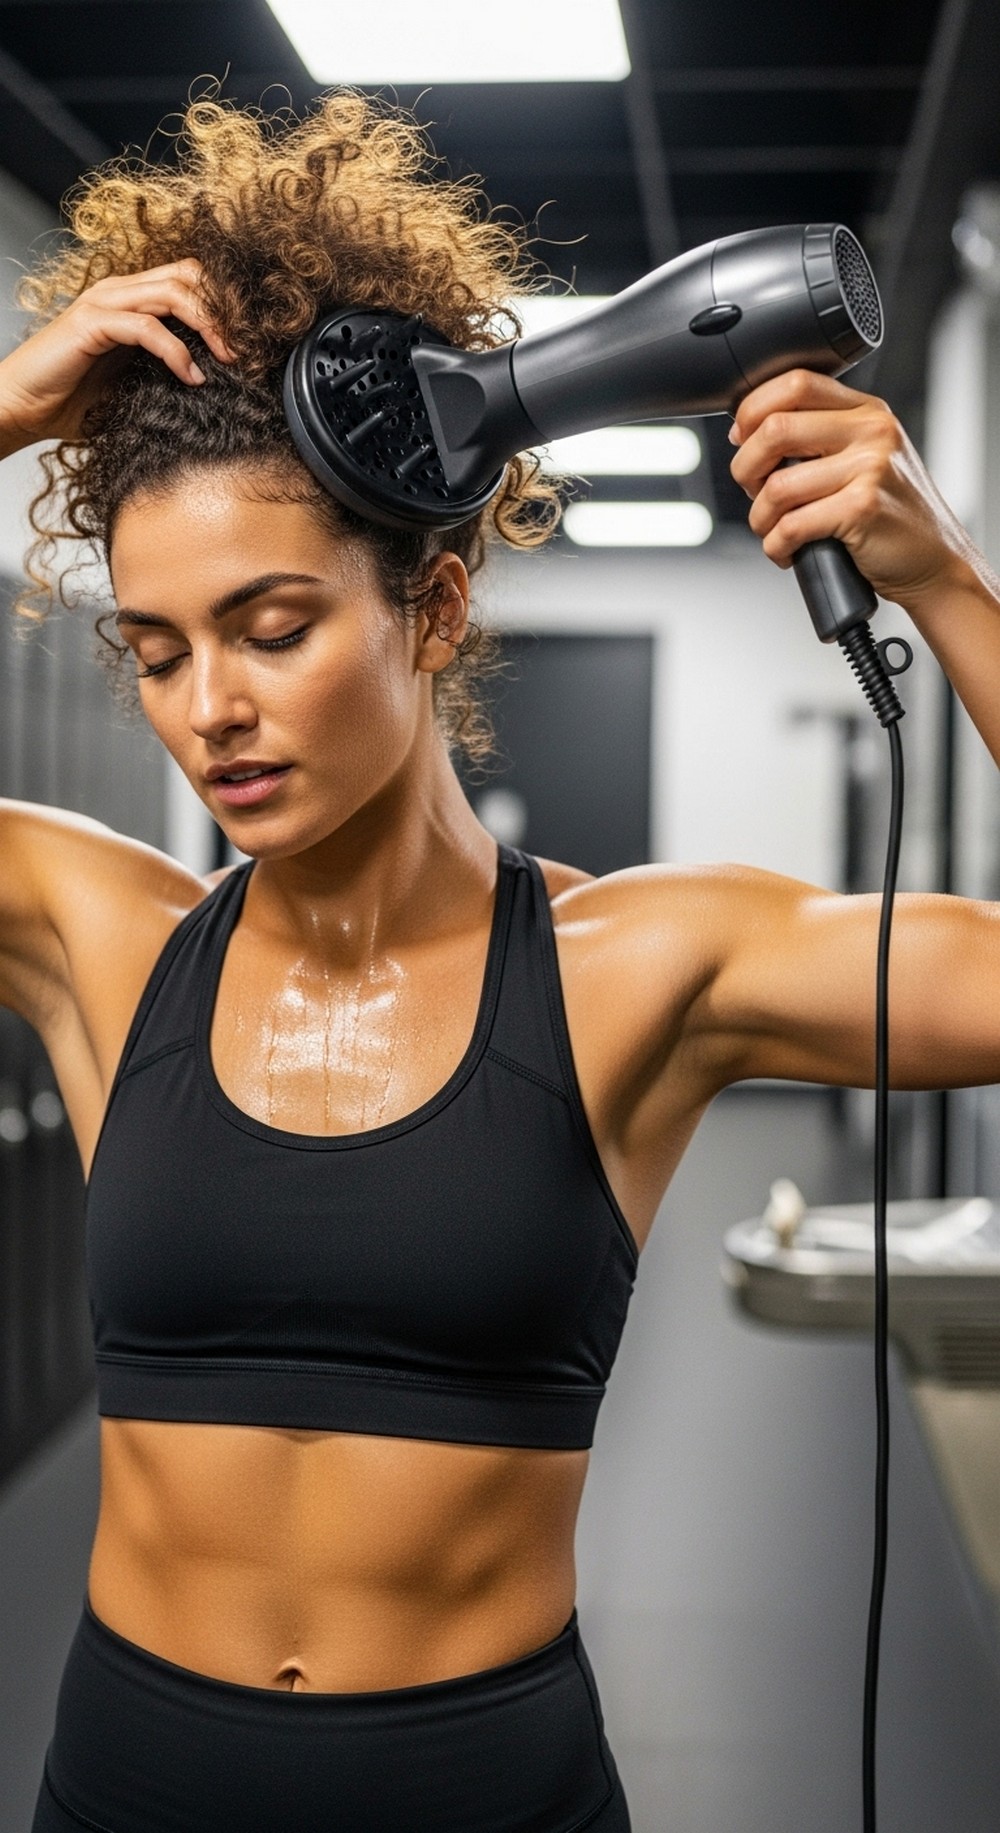
After a sweaty session, focus on the scalp. Use a scalp mist or quick rinse, then refresh lengths with water and a small amount of foam. Diffuse roots for two minutes to dry sweat and re-lift. Style tip: keep curls clipped off your neck while you cool down to prevent dents.
How To Style
- Scalp mist or quick rinse.
- Water + foam on lengths.
- Two-minute root diffuse.
- Clip crown; release.
Best For
Active days; 2C–3C curls.
Occasion & Season
Perfect for: gym-to-errands.
Key Pieces
scalp refresher, volumizing foam, diffuser, clips
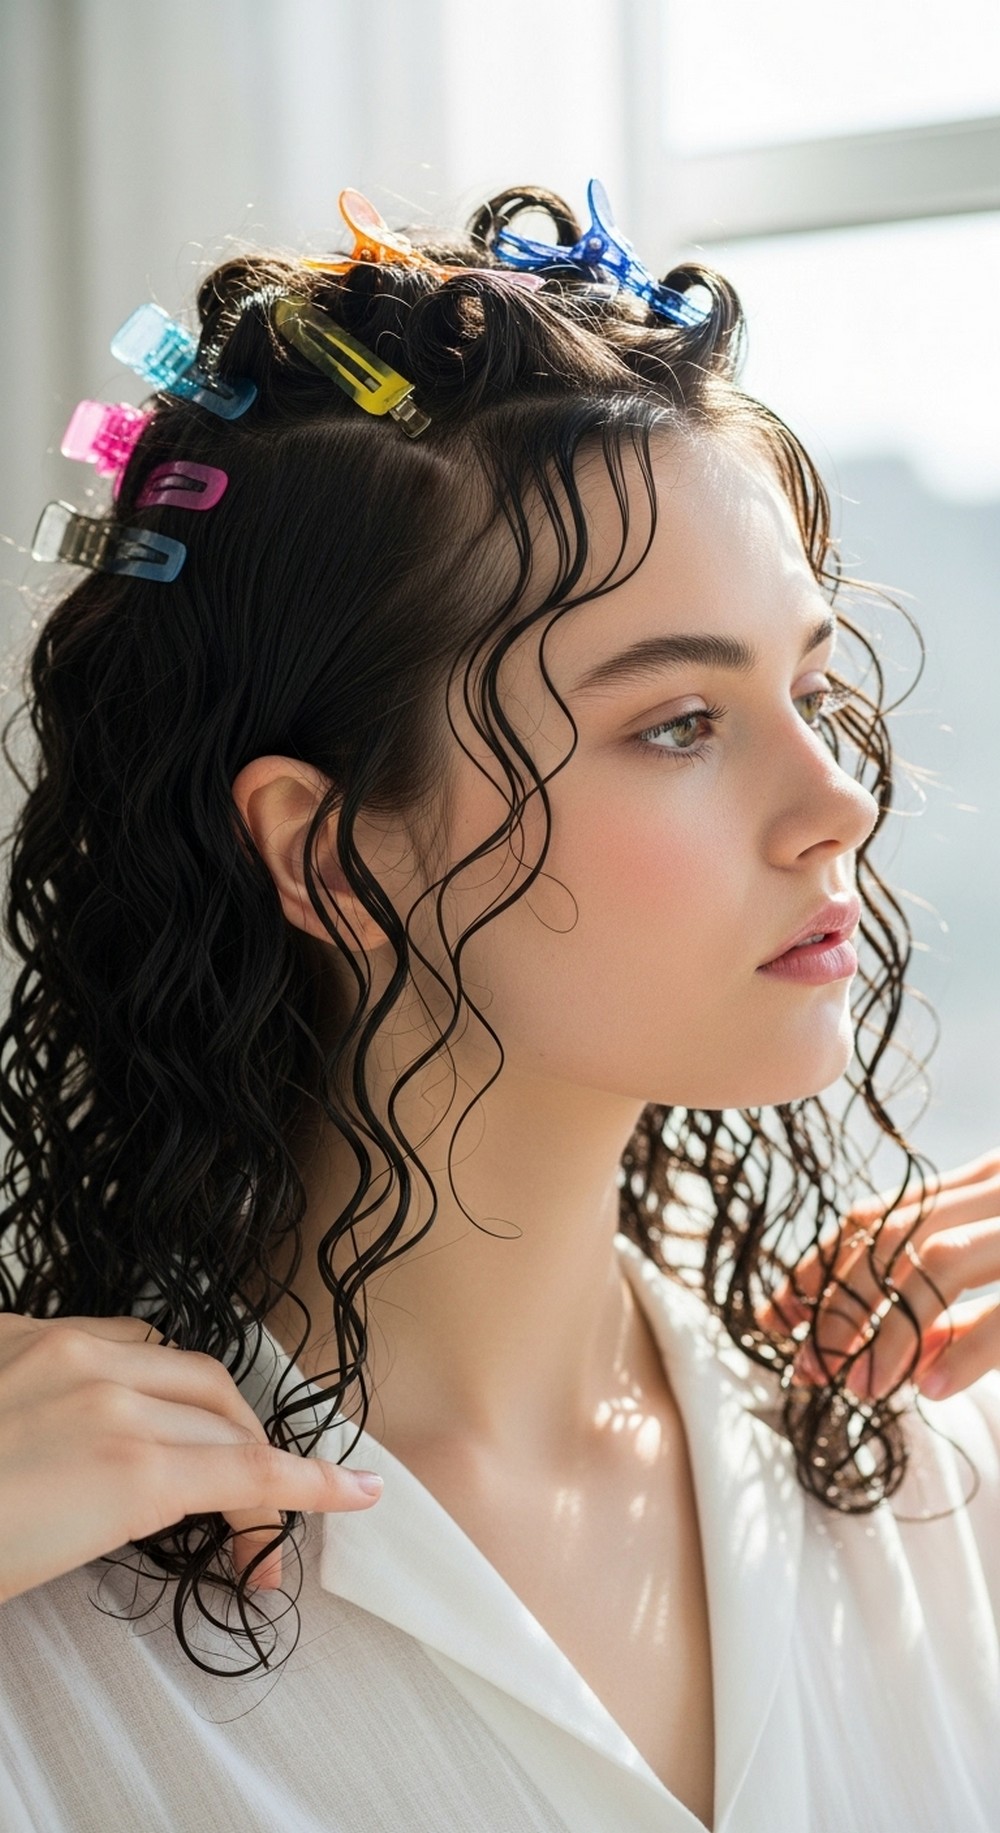
Overnight Curl Clip Set
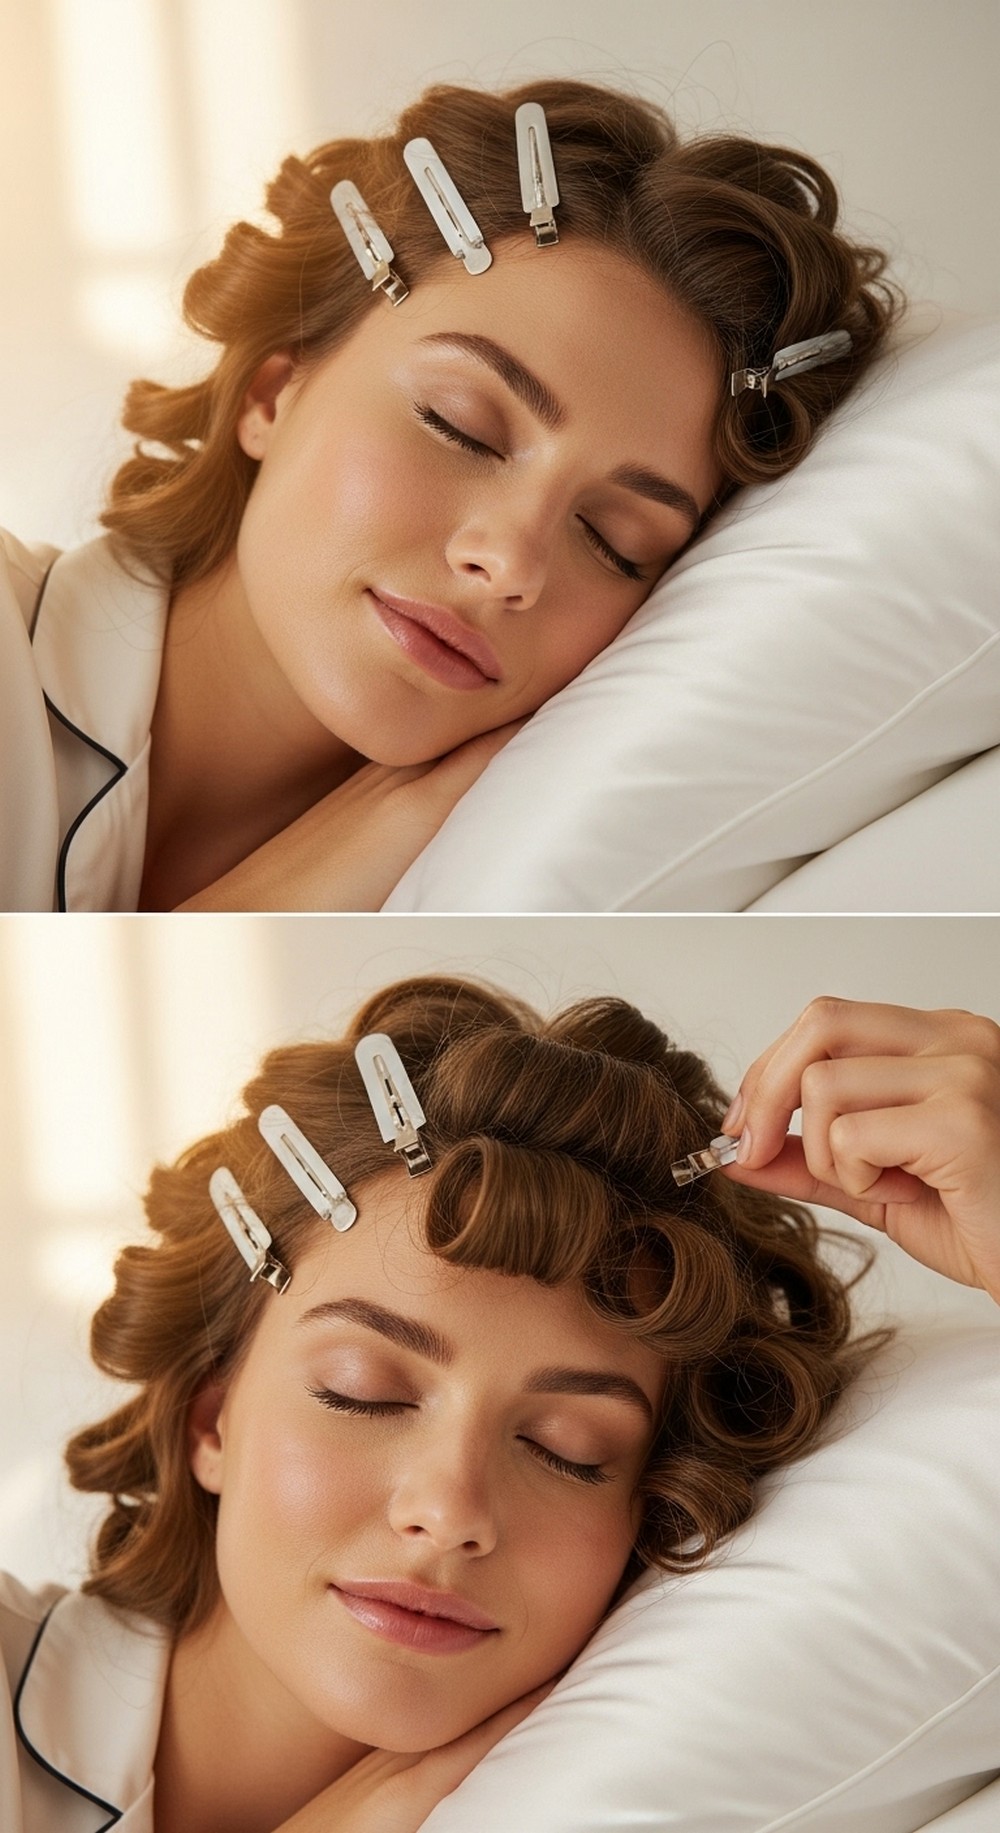
On damp hair, apply light leave-in and a touch of gel. Create loose curl clumps and clip them flat against the head in their natural pattern. Sleep on a silk pillowcase. In the morning, remove clips, shake, and add a drop of oil. Style tip: keep sections larger than finger coils—this preserves ringlets without tight spirals.
How To Style
- Light leave-in; small gel.
- Form clumps; flat-clip in place.
- Sleep; remove and shake.
- Oil to finish.
Best For
3A–3B curls; low-heat styling.
Occasion & Season
Perfect for: early starts, travel.
Key Pieces
duckbill clips, silk/satin pillowcase, light gel, finishing oil
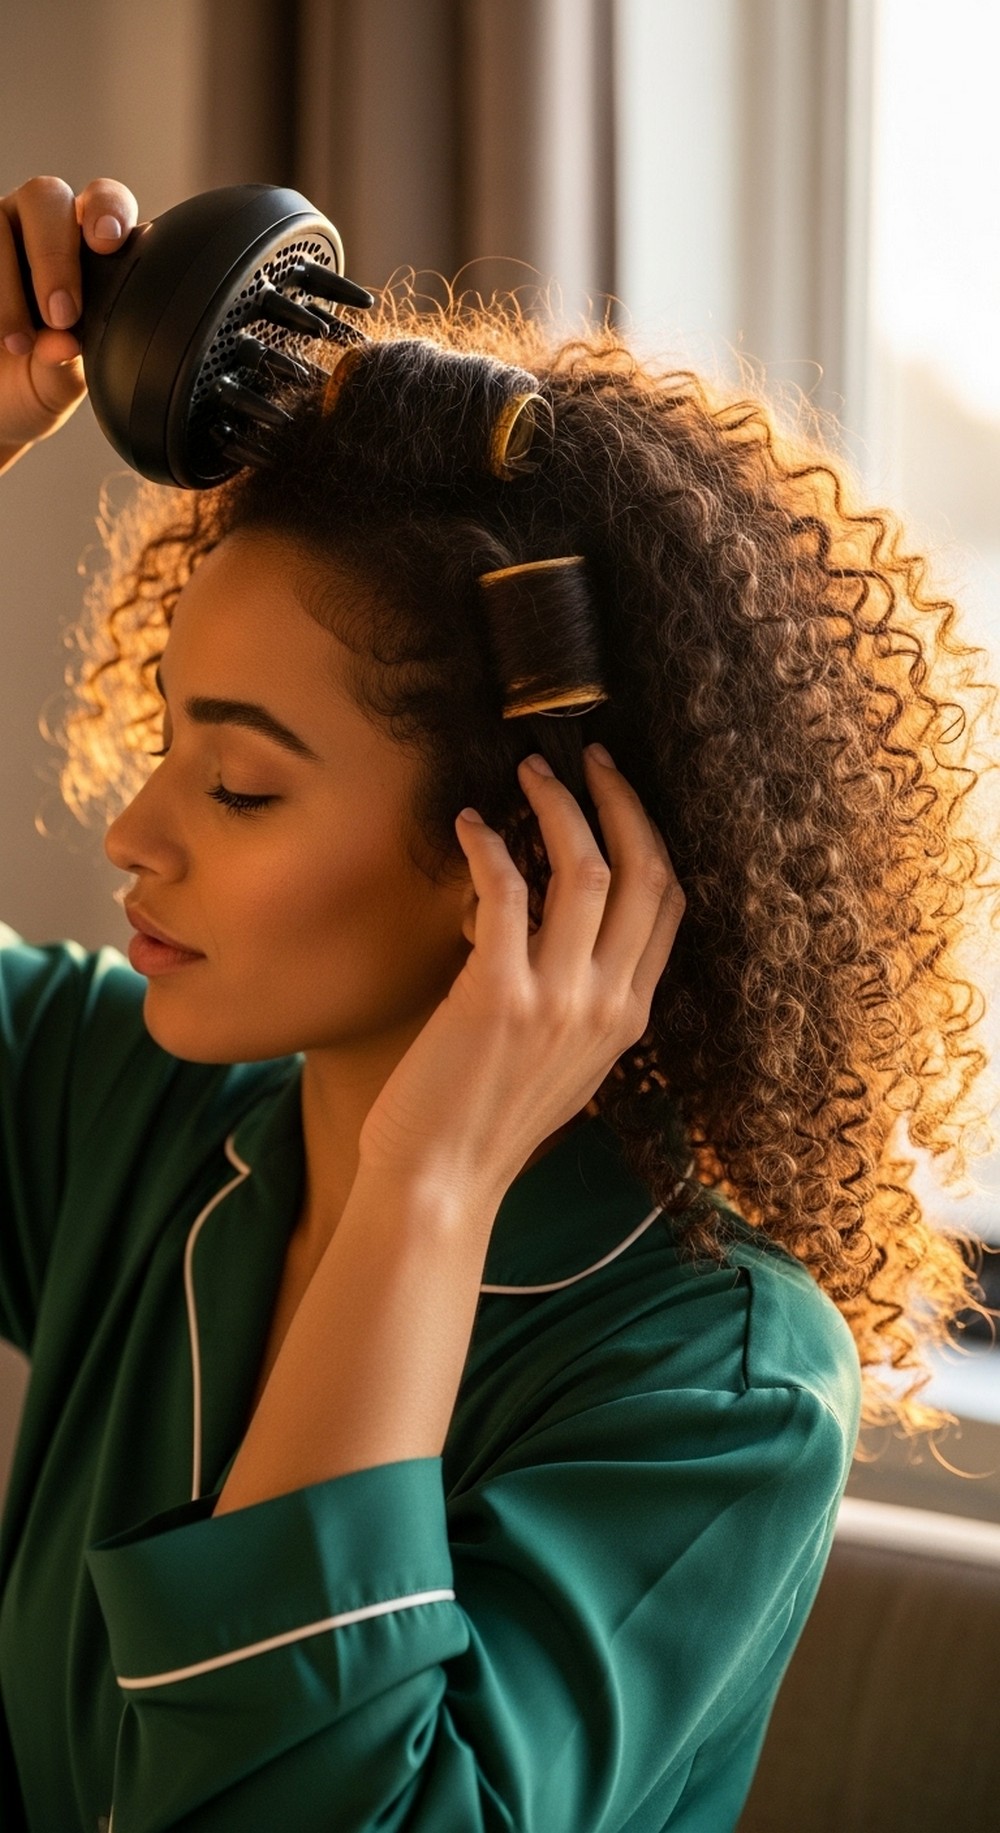
Curl Training with Finger Coils

To teach uniform pattern, apply cream and gel on wet hair, then coil small sections around your finger from root to tip. Let them set, then diffuse on low without breaking the coils. Once dry, separate gently for volume. Style tip: vary coil sizes slightly so hair looks natural, not doll-like.
How To Style
- Cream + gel on wet hair.
- Coil small sections; let set.
- Diffuse low; hands off.
- Separate coils lightly.
Best For
3A–3C curls; mixed patterns.
Occasion & Season
Perfect for: special photos, events.
Key Pieces
curl cream, defining gel, clips, diffuser
Hot Weather Wet Look
Embrace shine and hold. On soaking-wet hair, apply leave-in and a generous layer of gel or custard for a glossy, slick finish. Comb through for smooth clumps and don’t scrunch. Air-dry without touching. Style tip: seal edges with a tiny bit of serum and avoid hats until fully dry.
How To Style
- Leave-in; generous gel/custard.
- Comb for smooth clumps.
- Air-dry, no scrunch.
- Serum on canopy.
Best For
3A–3C curls; heat waves.
Occasion & Season
Perfect for: beach days, festivals.
Key Pieces
leave-in, curl custard/strong gel, wide-tooth comb, serum
Soft Volume with Root Lift
If curls define but lie flat, add root boost. Apply leave-in and light cream, then a foam at the roots only. Clip the crown while drying and finish with a quick pick at the scalp. Keep gel light so volume stays soft. Style tip: choose a side part just off-center for instant height.
How To Style
- Leave-in + light cream.
- Foam at roots; clip crown.
- Diffuse low; remove clips.
- Pick roots; scrunch lightly.
Best For
Fine or low-density curls.
Occasion & Season
Perfect for: workdays, dates.
Key Pieces
light cream, root mousse/foam, clips, diffuser, root pick
Special Event Gloss Set
For polished shine, layer lightweight products and finish with controlled heat. After leave-in and cream, add a medium gel. Diffuse to 80% and cool-shot to set. Once fully dry, smooth a pea of gloss serum over the surface only. Style tip: clip-curl a few face pieces while you do makeup, then release for camera-ready spirals.
How To Style
- Leave-in; cream; medium gel.
- Diffuse to 80%; cool-shot.
- Release clip-curls; oil gloss.
- Don’t over-fluff.
Best For
3A–3C curls; photo days.
Occasion & Season
Perfect for: weddings, parties, stage.
Key Pieces
leave-in, light cream, medium gel, diffuser with cool-shot, shine serum, sectioning clips
Conclusion
Defined ringlets are about water-first application, thin product layers, and patient drying. Build slip, shape with foam or cream, lock with gel, then keep hands off until fully dry. Tune the routine to your air—more hold for humidity, more moisture for dryness—and repeat it until it’s second nature.
CTA: Save this guide, choose one routine for your next wash day, and stick with it for two weeks—you’ll see the bounce and shine build fast.
FAQs
1) Why do my ringlets frizz after drying?
Frizz often comes from touching while wet or under-powered hold. Apply products on very wet hair, avoid fussing while drying, and use enough gel to form a cast you can scrunch out when fully dry.
2) Cream, mousse, or gel—what order?
Think slip → shape → seal. Start with leave-in for slip, add cream or mousse to build curl shape, then gel to lock it. Fine hair may skip cream and go foam + gel.
3) Do I need a diffuser?
It helps set curl pattern faster with less disturbance. Use low heat, low speed, hover first, then cup ends. Air-drying also works if you can keep hands off and avoid wind.
4) How often should I wash?
Every 2–4 days for most. If your scalp gets oily, try a gentle cleanser more often and keep heavy products off roots. Refresh lengths between washes with water and a small amount of styler.
5) How do I sleep without losing definition?
Pineapple or loose satin scarf, silk/satin pillowcase, and a tiny water + leave-in mist in the morning. For stubborn dents, clip-curl the top pieces for ten minutes, then release.